How to add DNS records and manage DNS in DirectAdmin?
Last Updated: January 21, 2022
DNS service is the critical element for the Internet, and it is responsible for propagating DNS records for communication between domain services and servers to get work done. We have many free DNS hosting available in the market where you only manage the DNS settings but the DirectAdmin control panel. You get many features, including DNS Management, through which you can easily manage DNS records from one interface.
How to add DNS records in DirectAdmin?
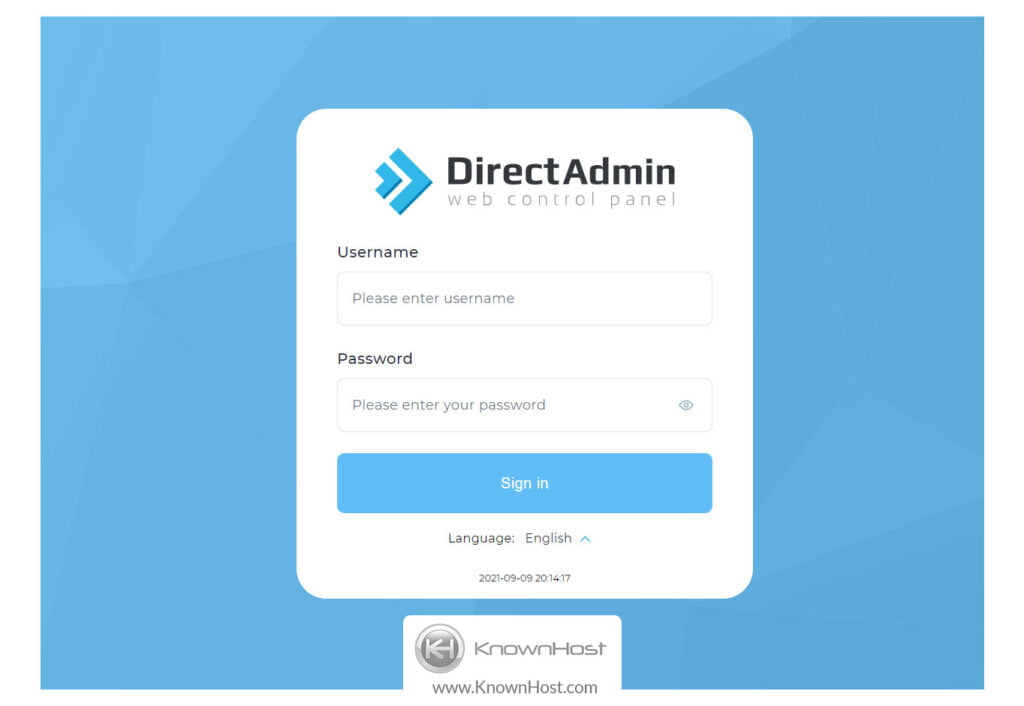
1. First, to login into DirectAdmin control panel visit,
https://your-domain.com:2222 or https://IP-address:2222 or https://server-hostname:2222.
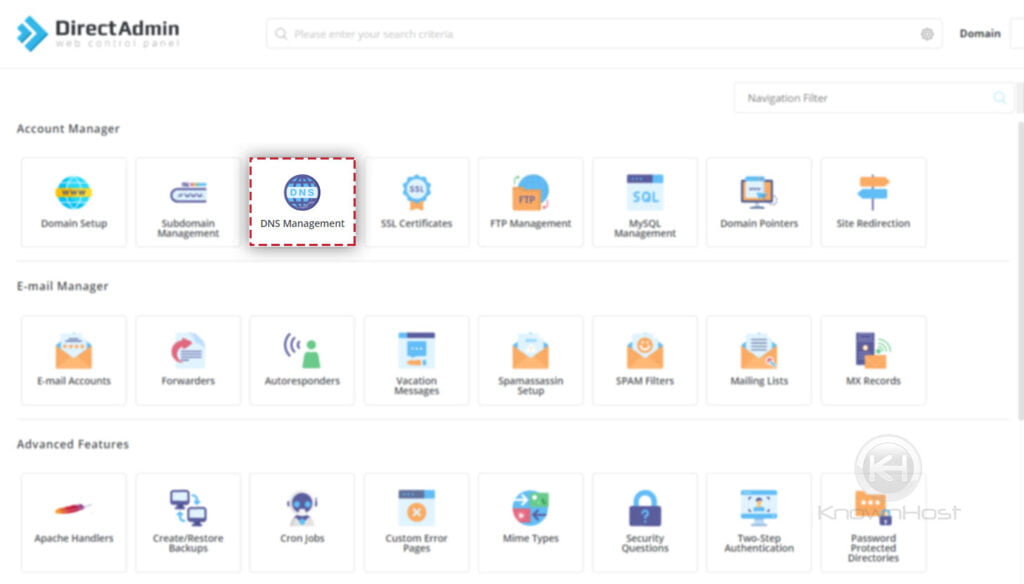
2. Navigate to Account Manager → DNS Management.
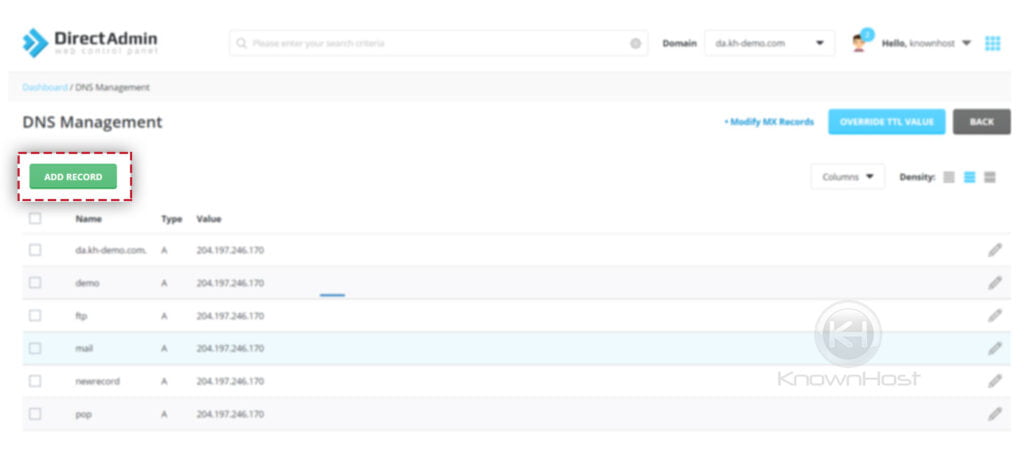
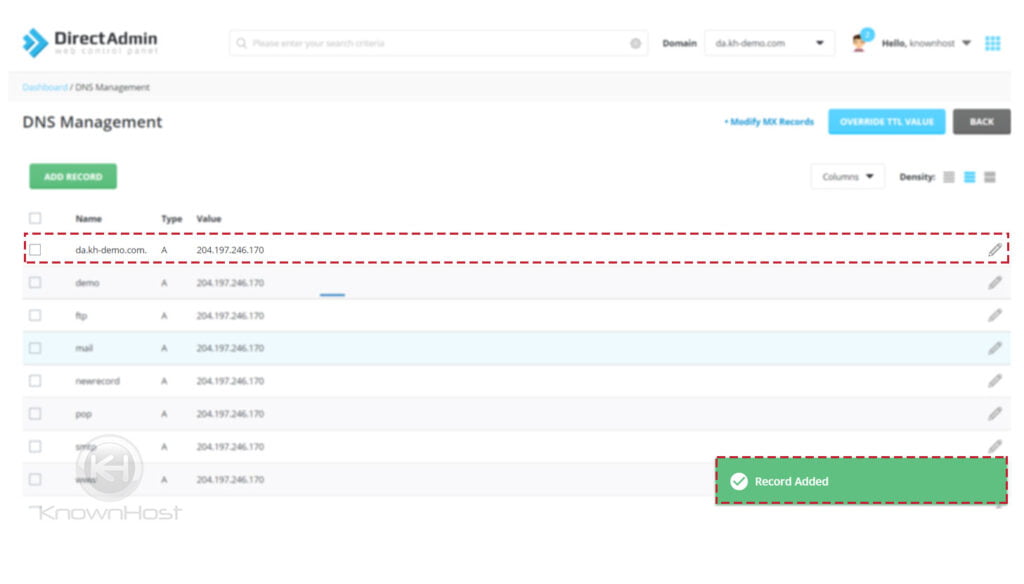
3. To add new DNS Record → Click on ADD Record.
4. Here, you need to Select the Record Type (A, CNAME, TXT, MX,etc), Enter Name and Value of TTL → Click on ADD.
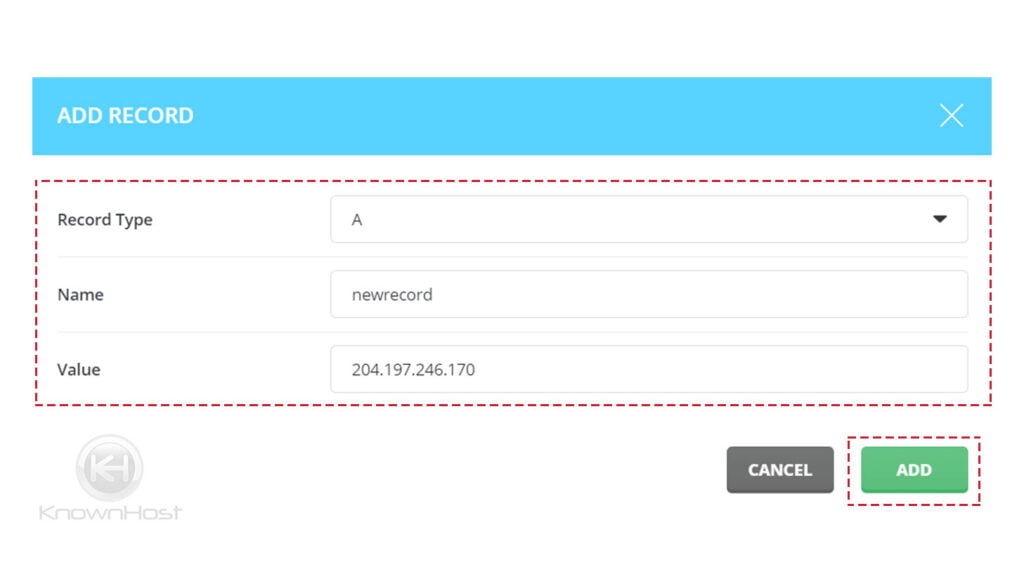
5. Congratulations! You has successfully added new DNS record in DirectAdmin.
How to modify existing DNS record in DirectAdmin?
1. First, to login into DirectAdmin control panel visit,
https://your-domain.com:2222 or https://IP-address:2222 or https://server-hostname:2222.
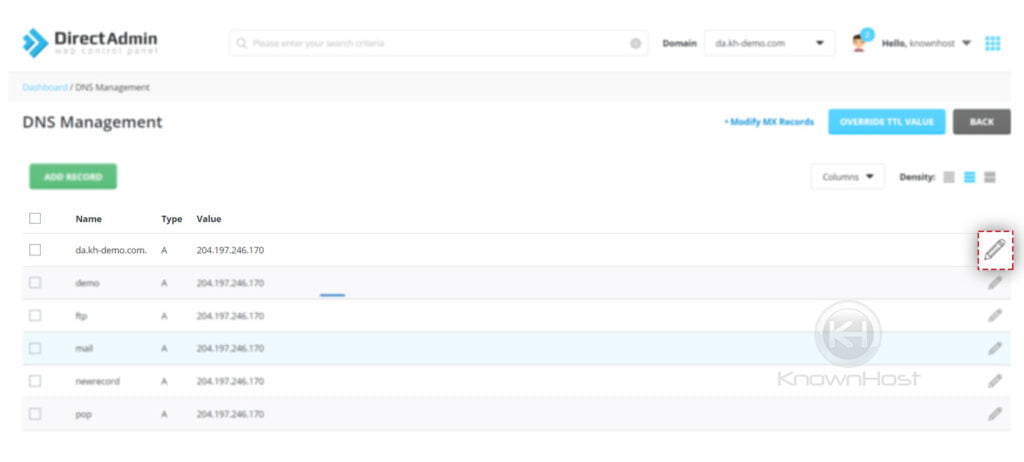
2. Navigate to Account Manager → DNS Management.
3. To modify existing record click on “🖊️“.
4. Make the new changes → Click on Save.
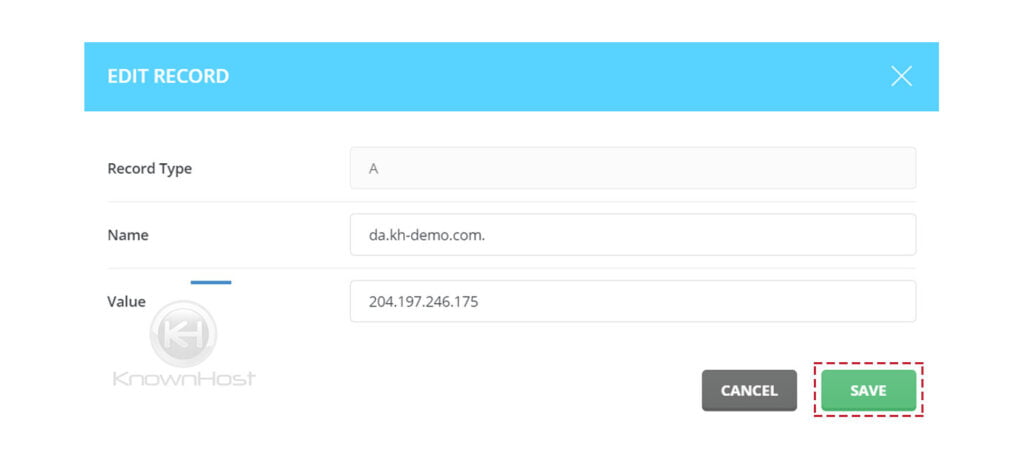
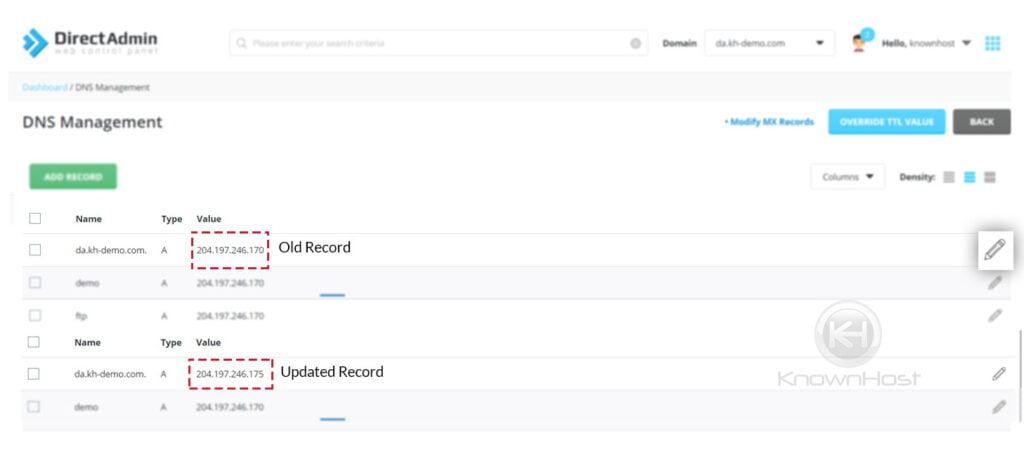
5. Congratulations! You have successfully modified the existing DNS record in DirectAdmin.
How to delete DNS record in DirectAdmin?
1. First, to login into DirectAdmin control panel visit,
https://your-domain.com:2222 or https://IP-address:2222 or https://server-hostname:2222.
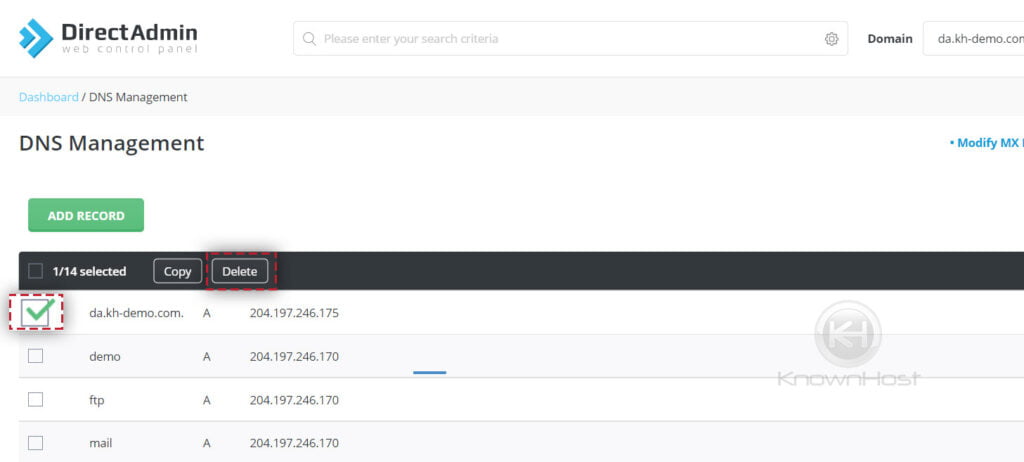
2. Navigate to Account Manager → DNS Management.
3. Select DNS Record → Click on Delete.
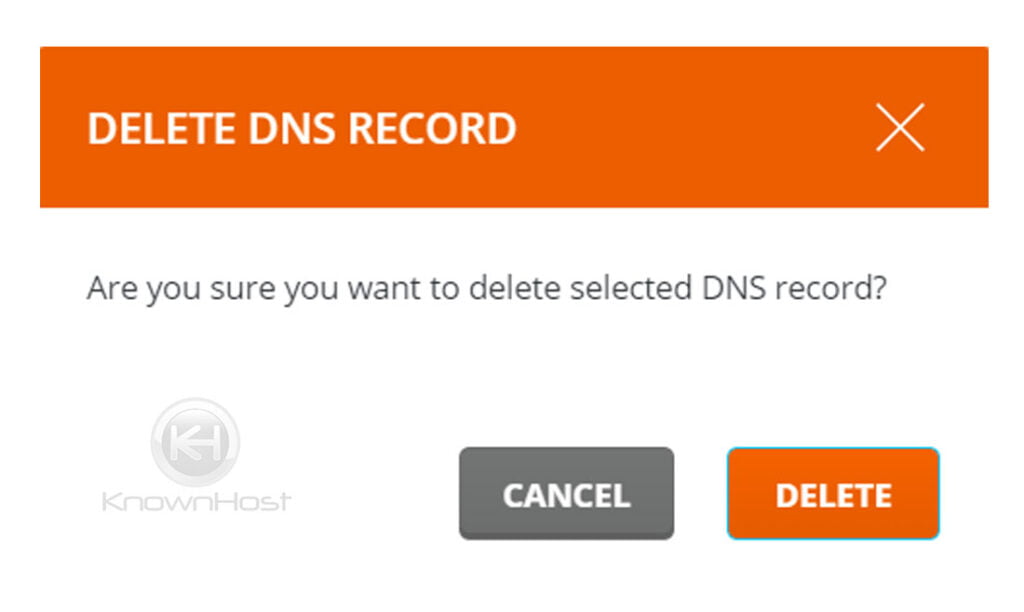
4. Again, DirectAdmin ask you to confirm the Delete → Click on Delete.
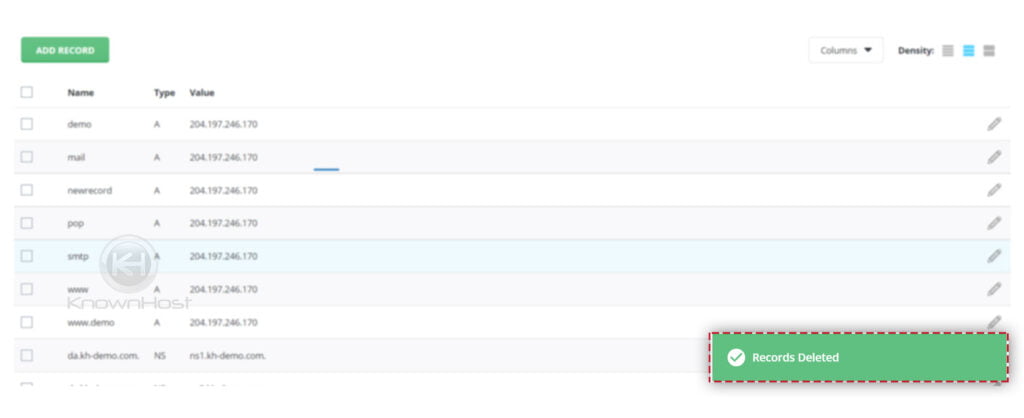
5. Congratulations! You have successfully deleted the DNS record from DirectAdmin.
Conclusion
Now that we’ve gone over how to add DNS records in DirectAdmin. Going further, we also covered how to delete existing DNS record in DirectAdmin and how to modify DNS record in DirectAdmin. Using this all-in-one guide DNS Management for the DirectAdmin control panel, you can perform all the end-user actions related to DNS.
KnownHost offers 365 days a year, 24 hours a day, all 7 days of the week best in class technical support. A dedicated team ready to help you with requests such as adding new DNS record; should you need our assistance. You’re not using KnownHost for the best web hosting experience? Well, why not? Check with our Sales team to see what can KnownHost do for you in improving your web hosting experience.