How to use cPanel’s File Manager?
Last Updated: February 21, 2022
cPanel allows you to upload files directly from its web-based interface called File Manager. Through it, you can upload and manage present and uploaded files right from a web-based interface. File Manager makes your jobs super easy through its graphical user interface and the drag-and-drop feature. Moreover, you can make the permission change, enabling hidden files and managing files/directories directly through the graphical user interface.
Upload Files
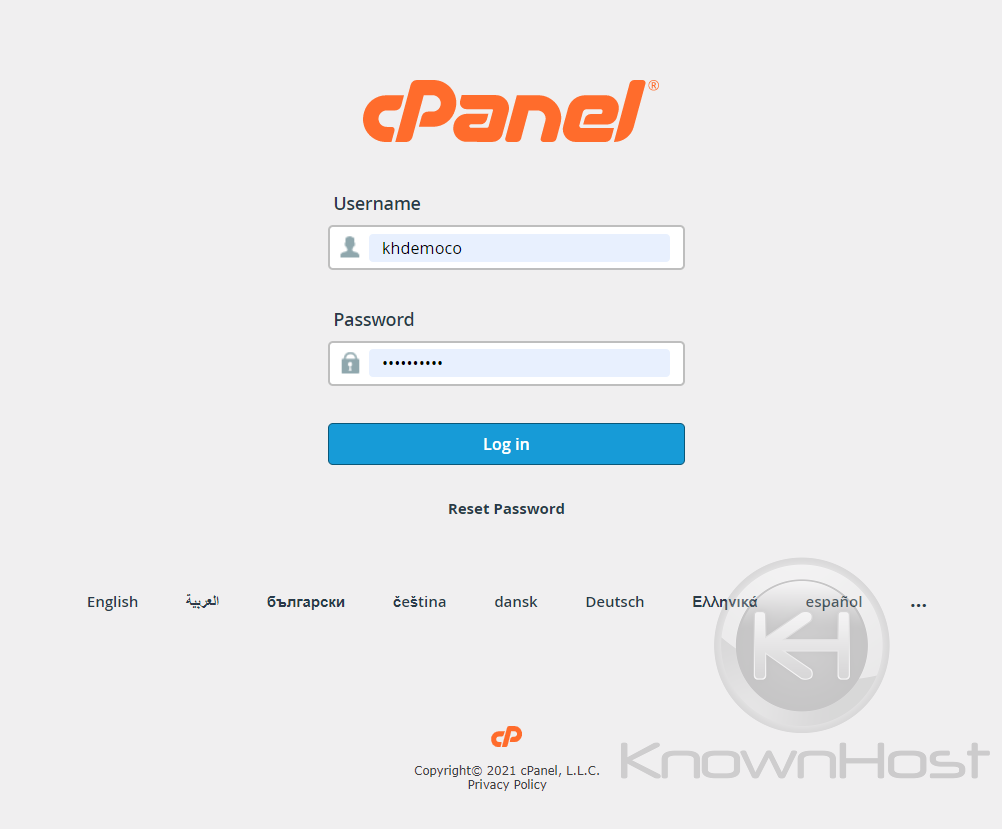
1. Log in to cPanel using Username & Password. i.e; (https://yourdomain.com:2083 or https://yourdomain.com/cpanel)
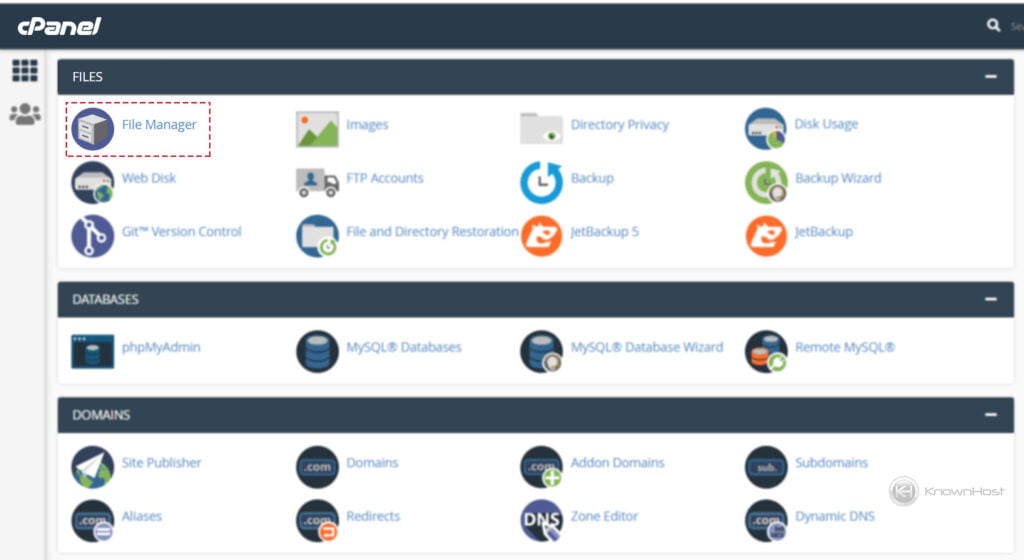
2. Navigate and open Files → File Manager.
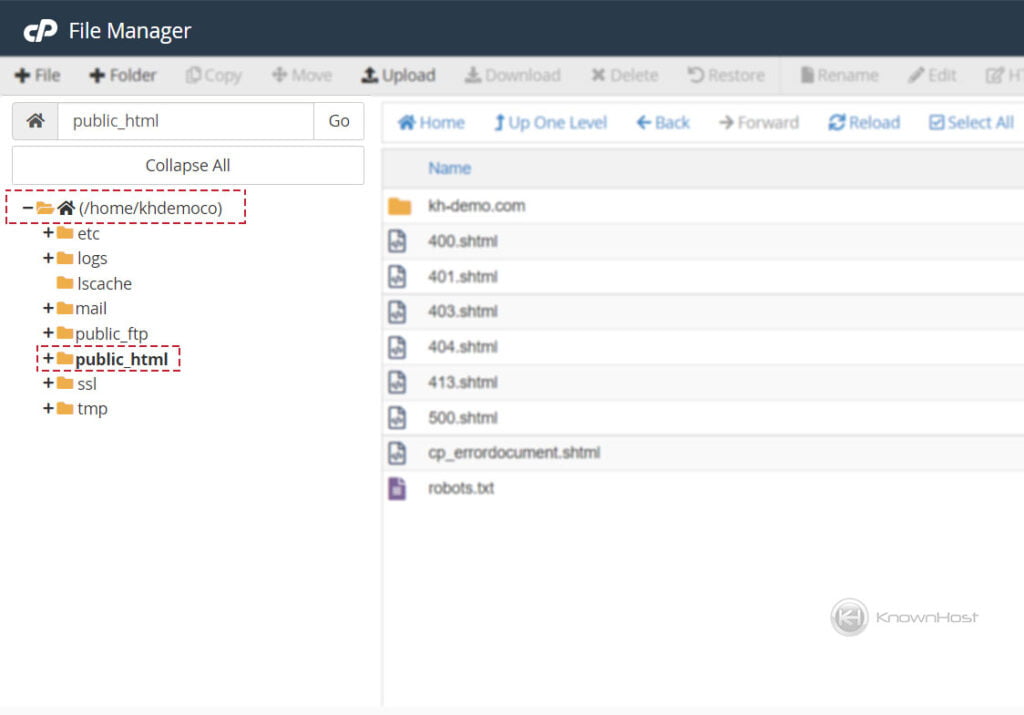
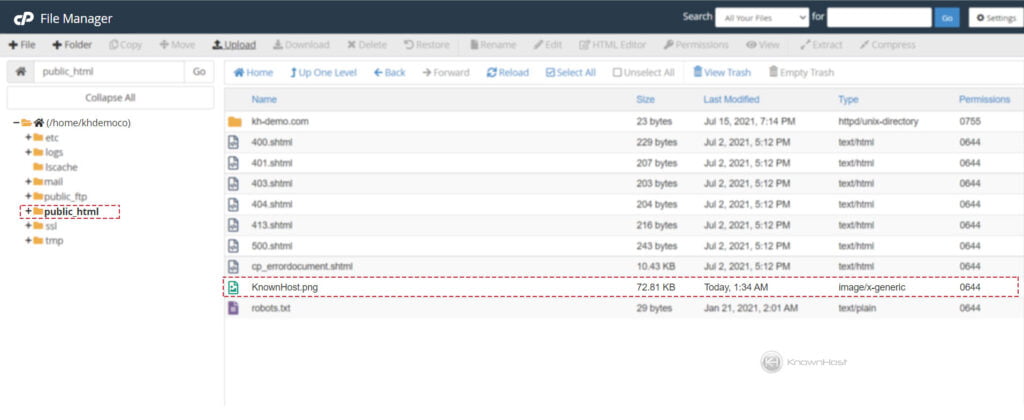
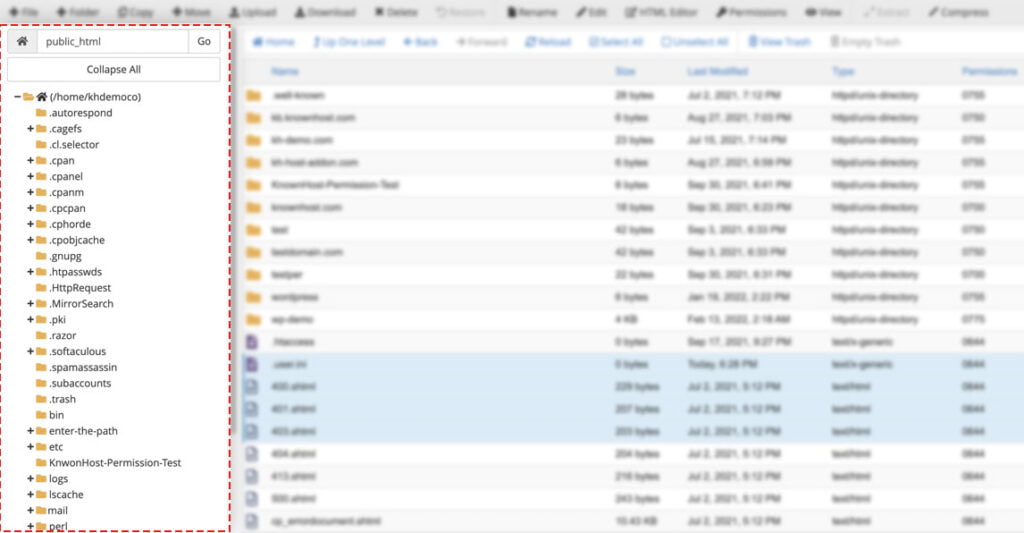
3. Navigate to the destination folder/directory from which you would like to delete the files/directories from the local computer/system. For this article, we are going to delete the files/directories from the public_html.
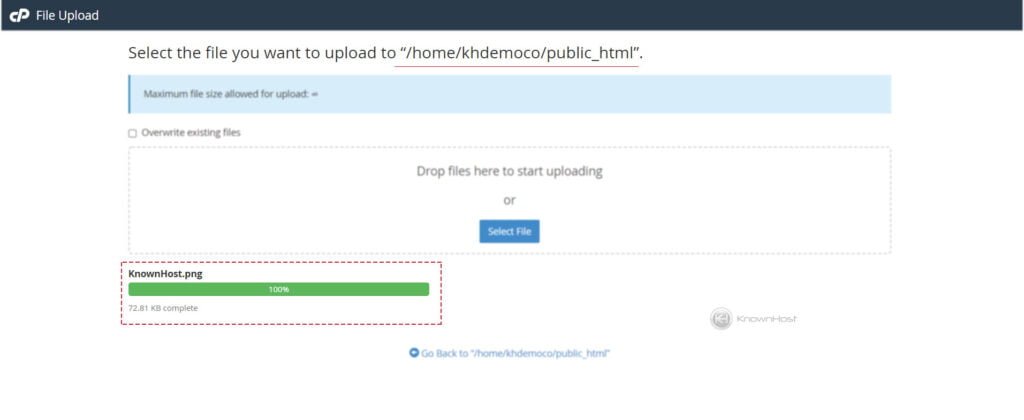
4. Now, click on “Upload” from the top toolbar.

5. Here, you have two options to upload the files. First, you can directly “Drag” the files on the “Drop files here to start uploading” area. Second, click on “Select File“, browse the file location and manually select the file or bunch of files to upload.

6. Once the files are uploaded to the destination folder/directory, you can view the same from File Manager.
Enable Hidden Files
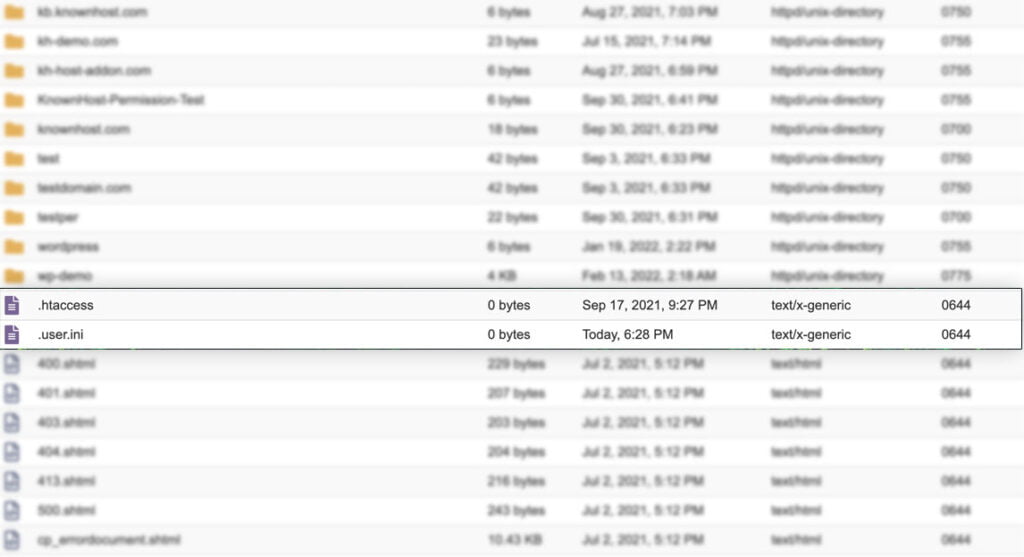
The cPanel File Manager can show hidden files. Hidden files are marked with periods before the file name (also called dotfiles), such as .htaccess, .user.ini, .env, etc. To enable those files, you need to perform the following steps,
1. Log in to cPanel using Username & Password. i.e; (https://yourdomain.com:2083 or https://yourdomain.com/cpanel)
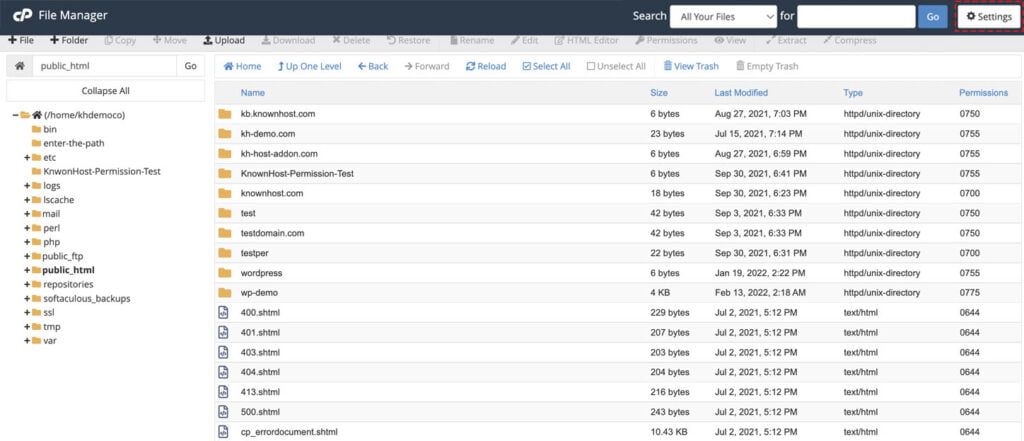
2. Navigate and open Files → File Manager.
2. Now, click on Settings (Top-right corner).
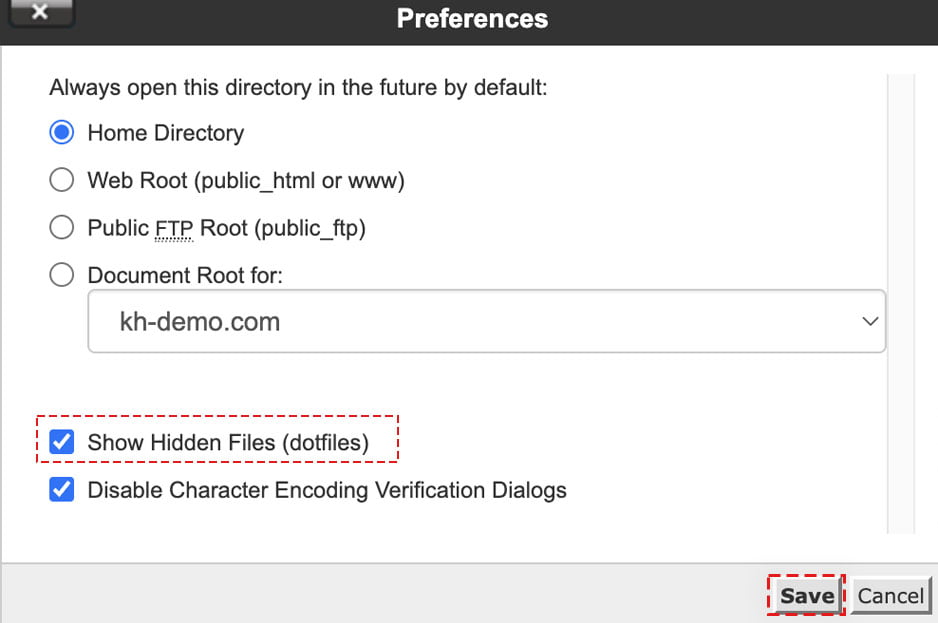
3. Select the option Show Hidden Files → Click on Save.
4. Now, you should see all the hidden/dot files in the file manager.
Deleting Files or Directories
1. Log in to cPanel using Username & Password. i.e; (https://yourdomain.com:2083 or https://yourdomain.com/cpanel)
2. Navigate and open Files → File Manager.
3. Navigate to the destination folder/directory from which you would like to delete the files/directories. For this article, we are going to delete the files/directories from the public_html.
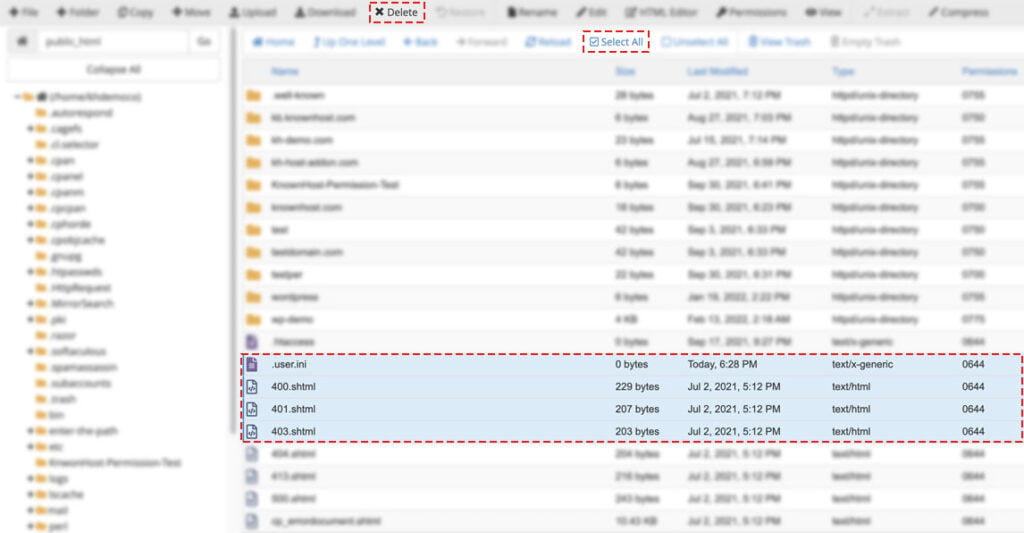
4. Next, select files manually or you can use use the option “Select All” to check all the available files under present location → Click on Delete.
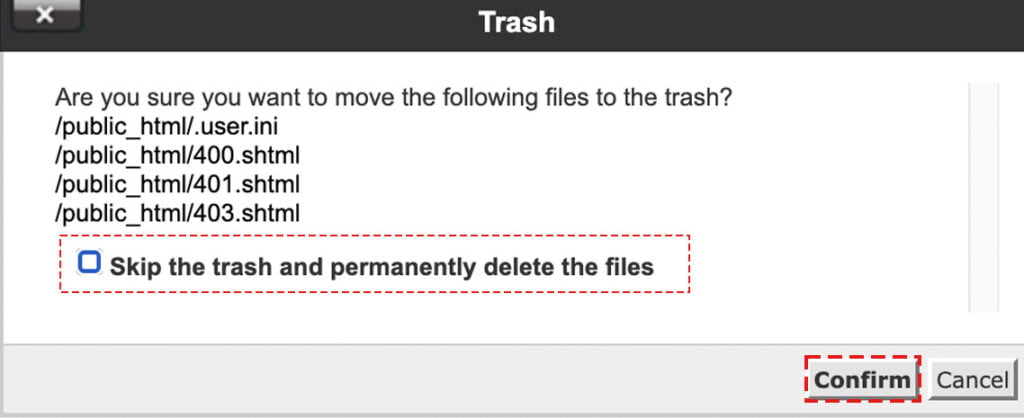
5. On the confirmation screen, you have the optional option to Skip the trash and permanently delete the files → Click on Confirm to process the deletion.
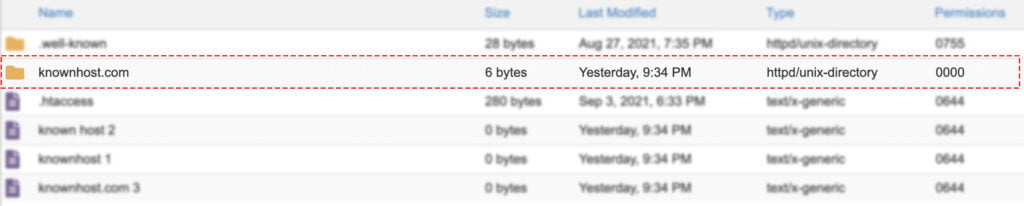
In the below image, you can see that the KnownHost.com directory has permission 000. It means neither User, Group, nor World has permission to edit/modify/replace/delete the KnownHost.com directory.
Next, when you try to delete the KnownHost.com directory, you will encounter the following permission error,

To resolve this issue, change the permission of the Directory or File to 655 or 755 (i.e., provide the permission to the user to Read, Write and Execute) by following How to change files or directory permission in cPanel? and then try to delete the file/directory.
Changing Permission
1. Log in to cPanel using Username & Password. i.e; (https://yourdomain.com:2083 or https://yourdomain.com/cpanel)
2. Navigate and open Files → File Manager.
3. Right-click on Directory or File → Click on Change Permissions.
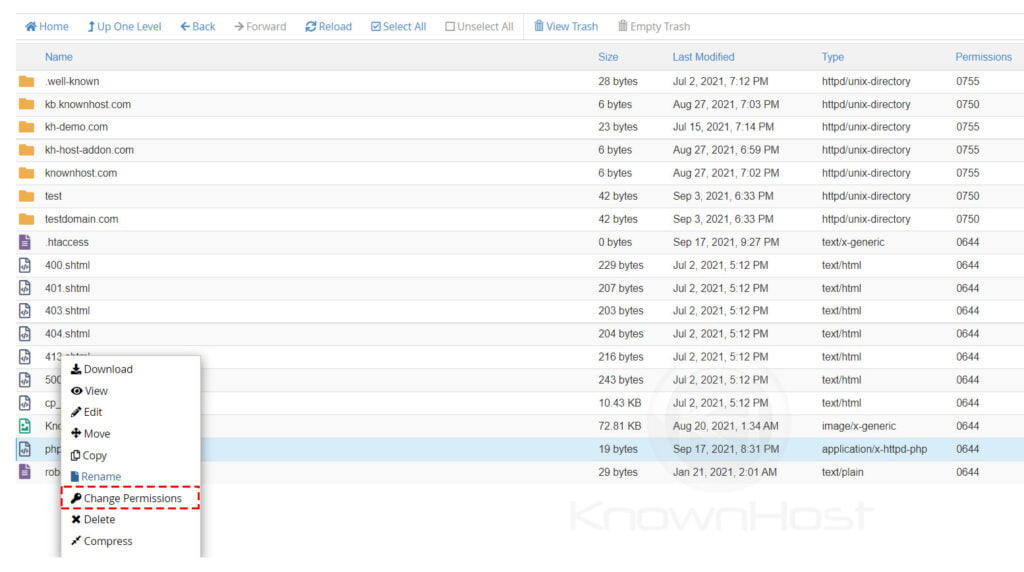
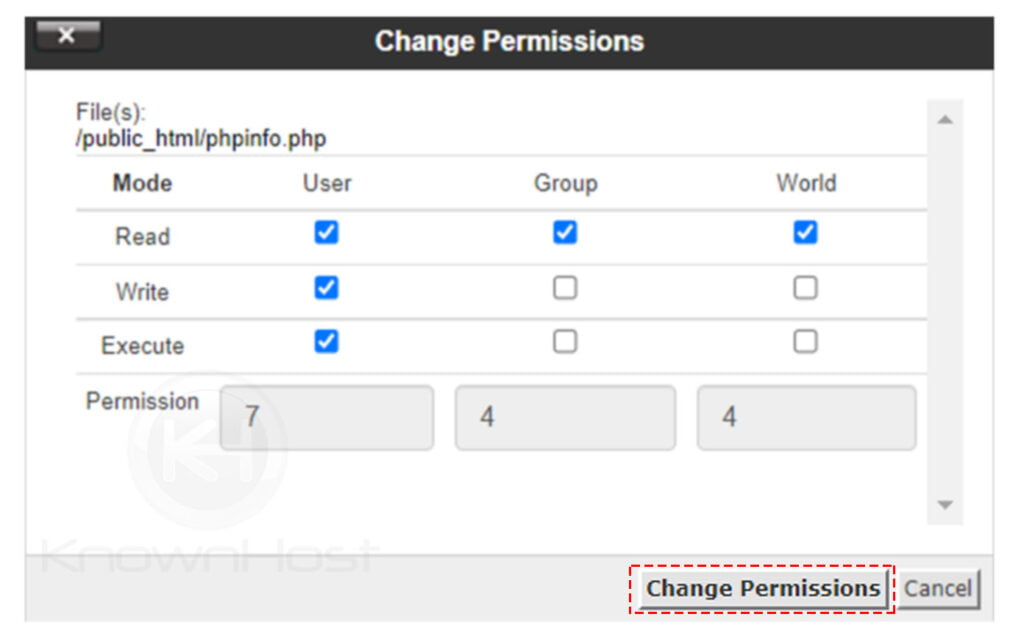
4. Here, make the required Permission changes.
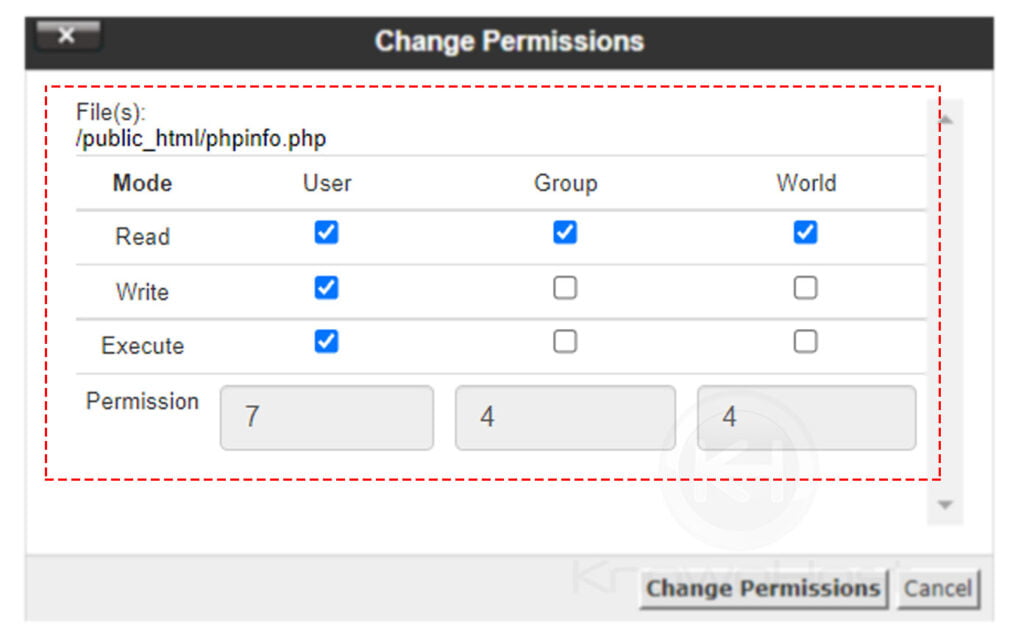
4. Finally, click on Change Permissions.
Conclusion
Now that we’ve gone over How to use cPanel’s File Manager? Now you should be able to upload the files, delete files/directories, modify the permission of the files or directories through cPanel → File Manager. Unlike other uploading methods for cPanel, File Manager is easy to understand and use.
KnownHost offers 365 days a year, 24 hours a day, all 7 days of the week best in class technical support. A dedicated team is ready to help you should you need our assistance. You’re not using KnownHost for the best web hosting experience? Well, why not? Check with our Sales team to see what can KnownHost do for you in improving your web hosting experience.