How To Enable Port Knocking in CSF/LFD
Last Updated: November 19, 2021
Below, we will outline two different methods of configuring port knocking with CSF/LFD (via CLI and via GUI). This can be quite helpful for maintaining SSH functionality while also addressing PCI Scans failures due to SSH.
Via CLI
Log in as root via SSH. Remember that KH servers use port 2200 by default for SSH connections.
Edit the CSF configuration file to enable and configure Port Knocking:
nano /etc/csf/csf.confType ‘Ctrl w’ to search and enter the following to search for the appropriate section:
section:Port KnockingThere must be a minimum of 3 ports to knock.
Locate “PORTKNOCKING =” in the section. Enter the SSH port, the protocol, the window in seconds that you have to log in after the ports have been knocked, and then the sequence of ports to knock like so:
PORTKNOCKING = "2200;TCP;20;31;313;3133;31337"This configures port knocking for SSH over port 2200 using TCP ports. After successfully knocking the ports, there is a 20 second window to log in. The port sequence is 31, 313, 3133, & 31337 in the example above, but you are free to change it as desired.
You may also choose to receive an alert when the port protected by portknocking is opened by changing the following to equal 1 instead of 0:
PORTKNOCKING_ALERT = "0"Now, simply restart the firewall with the following command:
csf -raIMPORTANT: Do not terminate your current SSH session!
Now, open a *new* terminal session, send a request to each TCP port you’ve specified, and then try to access your server via SSH. If this fails, then you may have a typo, so you can use your current active terminal session to check.
You can use nmap to send a scan to the ports as requested like so (replace host.server.com with your actual hostname or IP):
  nmap -Pn -p T:31,313,3133,31337 host.server.com

  Starting Nmap 7.01 ( https://nmap.org ) at 2019-06-01 17:14 CDT
  Nmap scan report for host.server.com (162.XX.XX.XX)
  Host is up.
  rDNS record for 162.XX.XX.XX: mydemodomain.tld
  PORT      STATE    SERVICE
  313/tcp   filtered unknown
  3133/tcp  filtered unknown
  31337/tcp filtered Elite

  Nmap done: 1 IP address (1 host up) scanned in 3.46 seconds
  $ ssh root@host.server.com -p2200
  root@host.server.com's password:
The nmap flags above mean the following (via ‘nmap –help’ output):
  -Pn: Treat all hosts as online -- skip host discovery
  -p <port ranges>: Only scan specified ports
    Ex: -p22; -p1-65535; -p U:53,111,137,T:21-25,80,139,8080,S:9
Do note, though, that if your IP is in the csf.allow file, you will bypass port knocking altogether, so you’ll want to keep this in mind when you test to confirm that configuring port knocking did work.
You could ease the entire login process by making a bash alias in your ~/.bashrc file like so:
alias host='nmap -Pn -p T:31,313,3133,31337 host.server.com; ssh root@host.server.com -p2200'You can then source the file to load it immediately:
source ~/.bashrcA few points to note regarding the alias:
- host is the alias you will type into the browser to execute the alias and is also the first part of the server’s hostname
- host.server.com above represents your server’s hostname, so make sure to substitute this with a hostname and make sure the hostname is resolving to the server
- -p2200 represents the SSH port, which is a custom SSH port in this case
Via Your Panel’s CSF/LFD Plugin’s GUI
You can also make the necessary changes via the firewall’s GUI that is integrated with your panel. The following example using DirectAdmin, however, this same steps could be applied to the CSF/LFD integration with cPanel or any other supported panel.
The general steps are as follows:
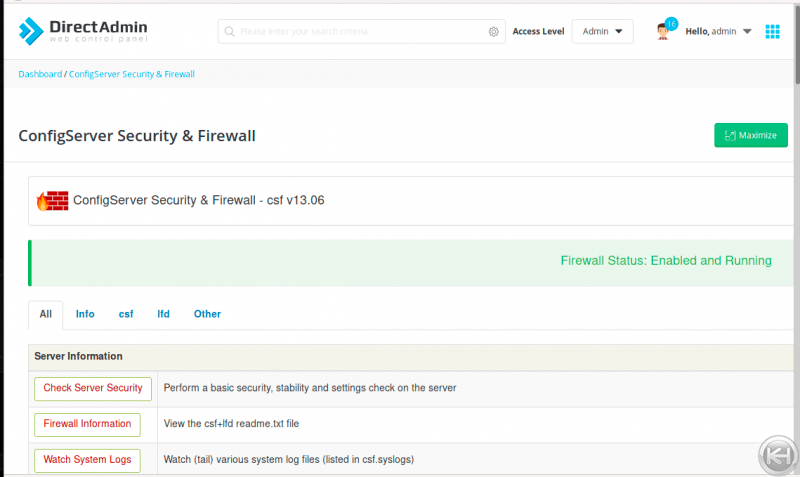
- Log into your panel and locate the CSF/LFD Firewall Plugin
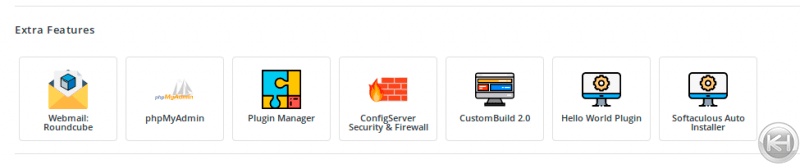
- Click the CSF/LFD plugin icon.
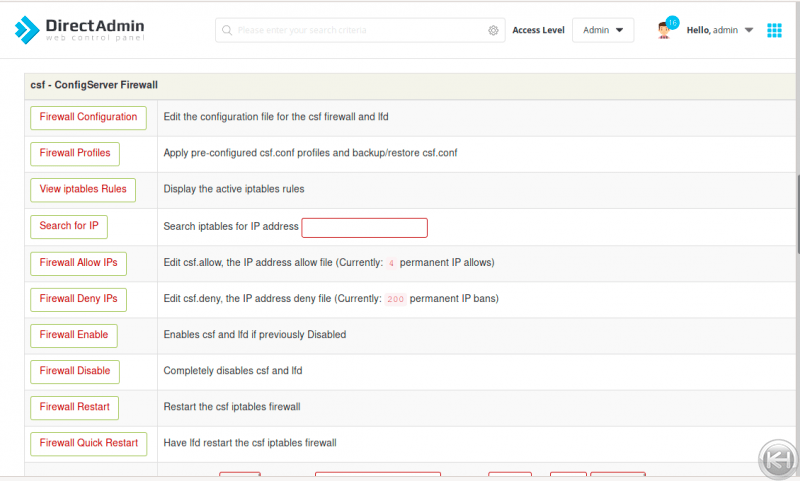
- Under “csf – ConfigServer Firewall”, click “Firewall Configuration”
- Go to the section “Port Knocking” and fill in the necessary details.
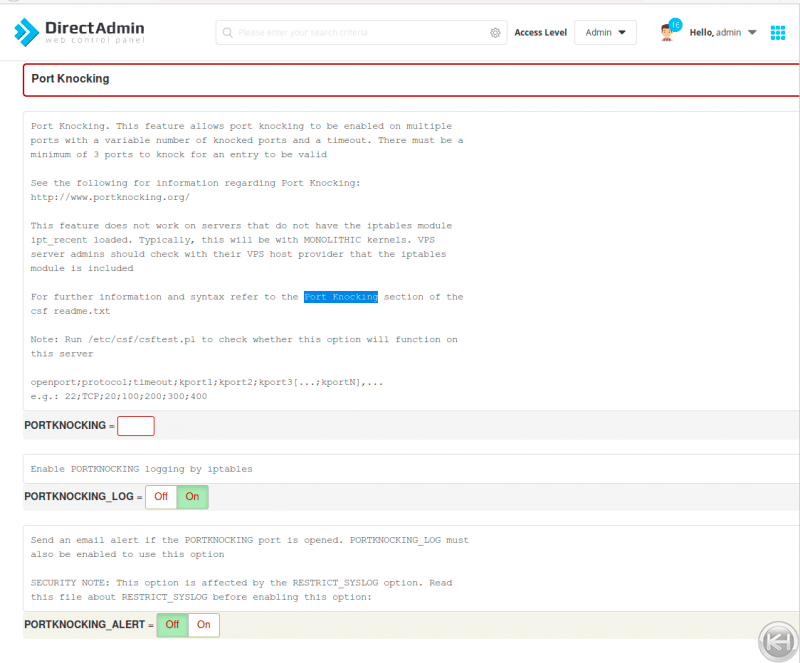
There must be a minimum of 3 ports to knock.Locate “PORTKNOCKING =” in the section. Enter the SSH port, the protocol, the window in seconds that you have to log in after the ports have been knocked, and then the sequence of ports to knock like so:
PORTKNOCKING = "2200;TCP;20;31;313;3133;31337"This configures port knocking for SSH over port 2200 using TCP ports. After successfully knocking the ports, there is a 20 second window to log in. The port sequence is 31, 313, 3133, & 31337 in the example above, but you are free to change it as desired.
You may also choose to receive an alert when the port protected by portknocking is opened by changing the following to equal 1 instead of 0:
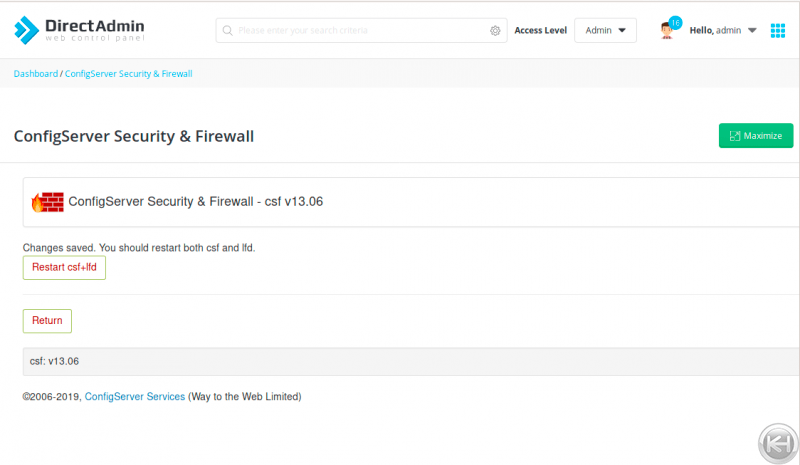
PORTKNOCKING_ALERT = "0"- Save by clicking “Change” at the bottom of the page and on the next screen, click “Restart csf+lfd” to apply the changes.
Now, open a terminal session, send a request to each TCP port you’ve specified, and then try to access your server via SSH to test.
Instead of manually hitting each port, you could ease the entire login process by making a bash alias in your ~/.bashrc file like so, which uses nmap to scan those ports and then issue the ssh connect command immediately afterwards:
alias host='nmap -Pn -p T:31,313,3133,31337 host.server.com; ssh root@host.server.com -p2200'You can then source the file to load it immediately:
source ~/.bashrcA few points to note regarding the alias:
- host is the alias you will type into the browser to execute the alias and is also the first part of the server’s hostname
- host.server.com above represents your server’s hostname, so make sure to substitute this with a hostname and make sure the hostname is resolving to the server (you may use the server IP if not or if you prefer it to the hostname)
- -p2200 represents the SSH port, which is a custom SSH port in this case
That’s it! 🙂
As always, contact the support team if you have any trouble at all!