How to modify a user’s pre-defined quota using WHM?
Last Updated: January 26, 2022
Quota is nothing but assigned disk space through packages to the cPanel account. If you would like to adjust the quota for an individual cPanel account, then the WHM panel has a dedicated option. In this article, we will cover how to modify a user’s pre-defined quota using WHM?
1. First, login into WHM panel,
https://your-domain.com:2087 or https://IP-address: 2087 or https://server-hostname: 2087.
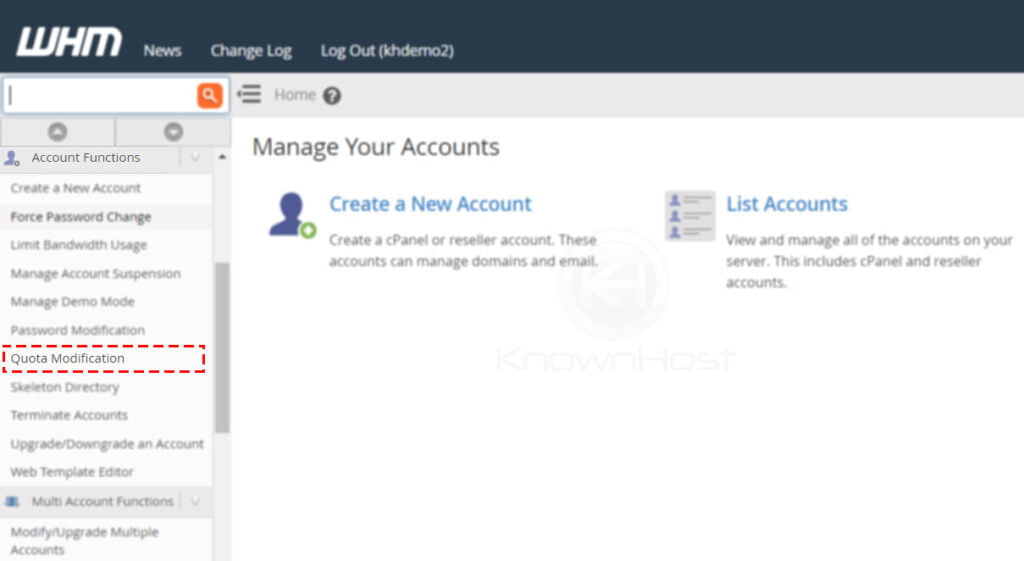
2. Navigate to Account Functions → Quota Modification.
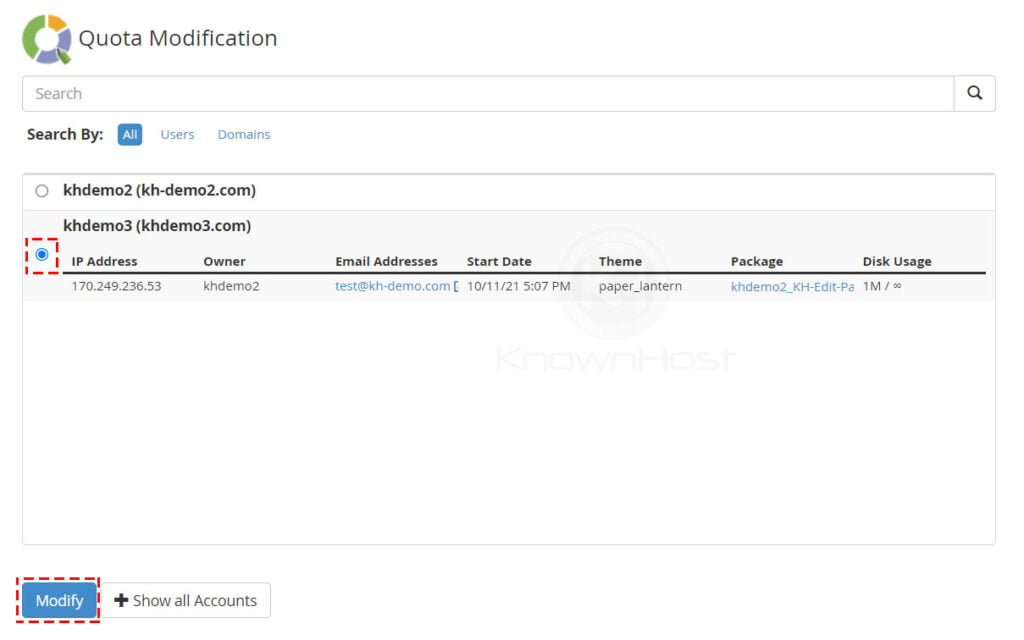
3. Select the cPanel Account (Domain, Username) → Click on Modify.
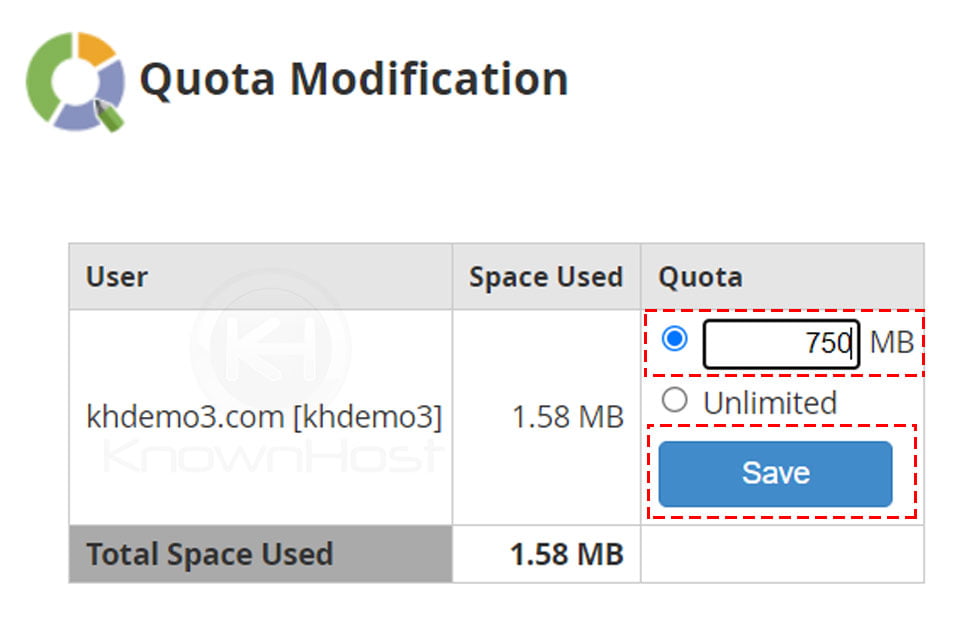
4. Enter the New Quota Limits → Click on Save.
5. Congratulations! You have successfully modified the pre-defined quota using using WHM.
Conclusion
Now that we’ve gone over how to modify a user’s pre-defined quota using the WHM panel. Note that the updated quota for the cPanel account won’t affect the assigned package’s limits.
KnownHost offers 365 days a year, 24 hours a day, all 7 days of the week best in class technical support. A dedicated team ready to help you with requests should you need our assistance. You’re not using KnownHost for the best webhosting experience? Well, why not? Check with our Sales team to see what can KnownHost do for you in improving your webhosting experience.