How to configure rDNS for your VPS?
Last Updated: September 7, 2022
For every server, rDNS needs to be configured with the correct hostname and the A record from the host side and from the DNS settings. Let’s learn how you configure rDNS for your VPS.
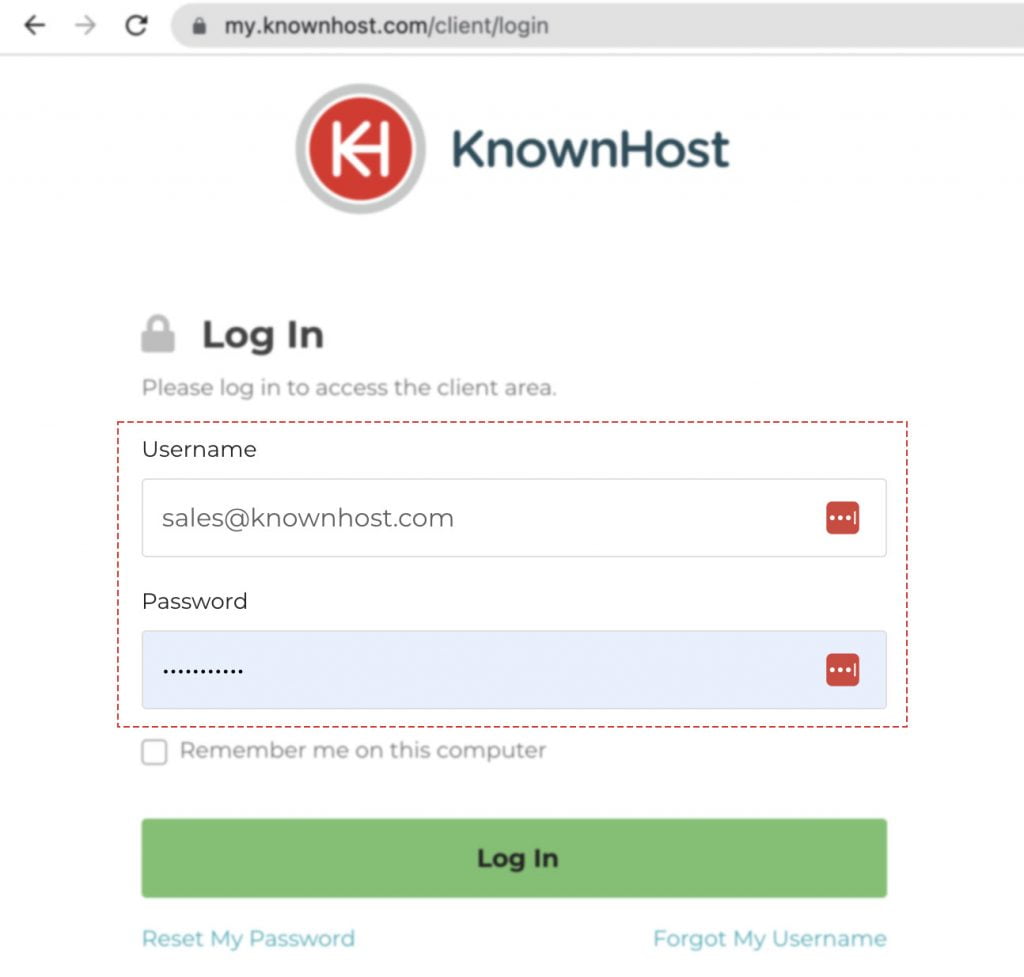
1. First, login into Billing Portal (my.knownhost.com) with registered email address and password.
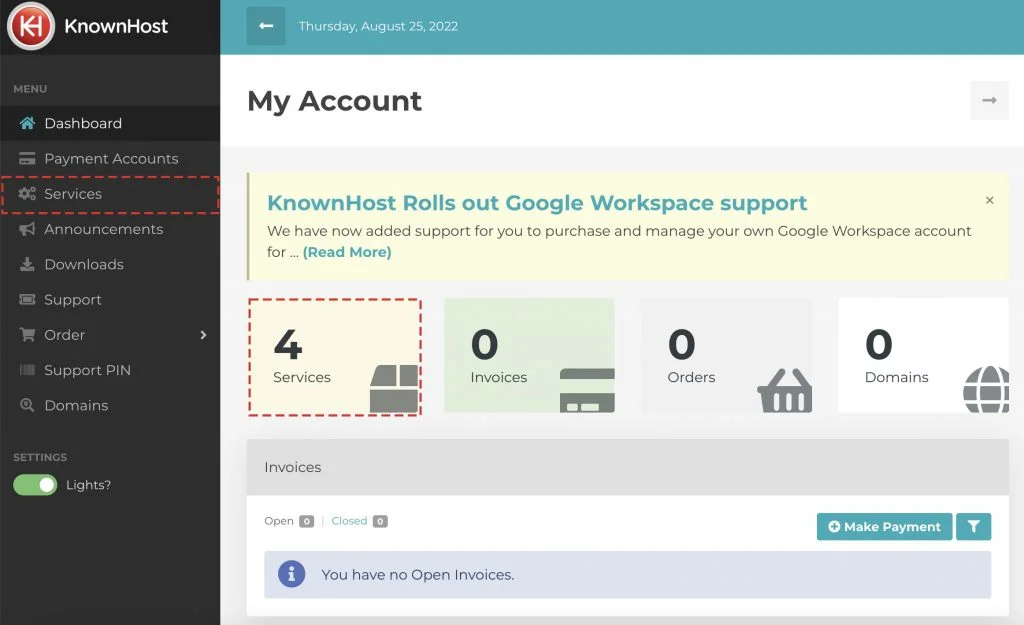
2. In the Navigation tray, you can find the option “Services” click on that or you can navigate to Dashboard → Click on Services.
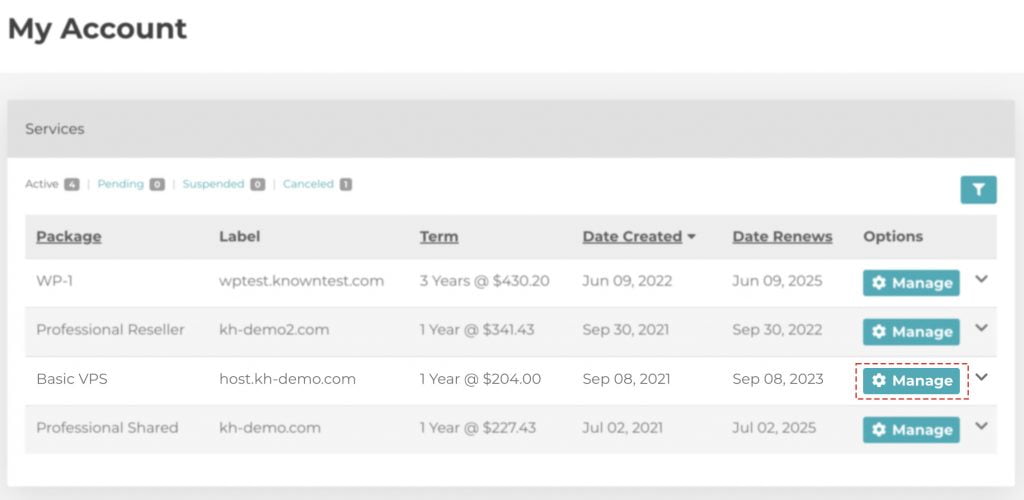
3. Locate the VPS → Click on Manage.
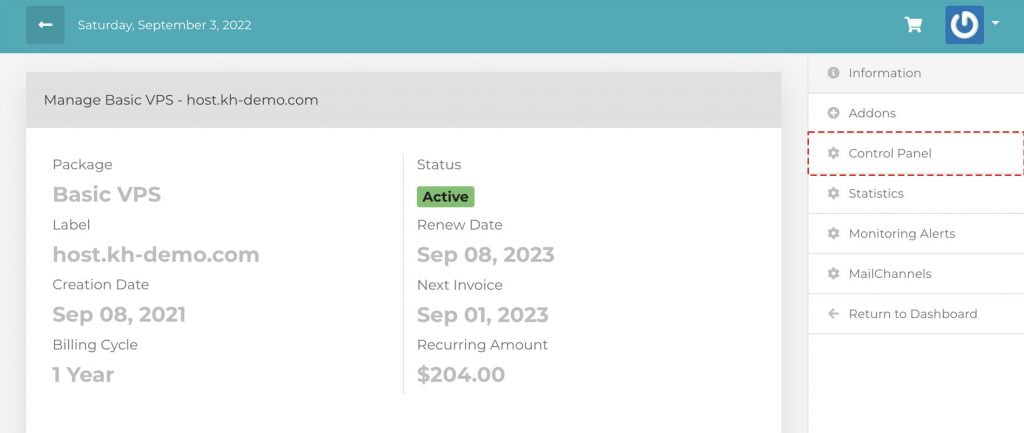
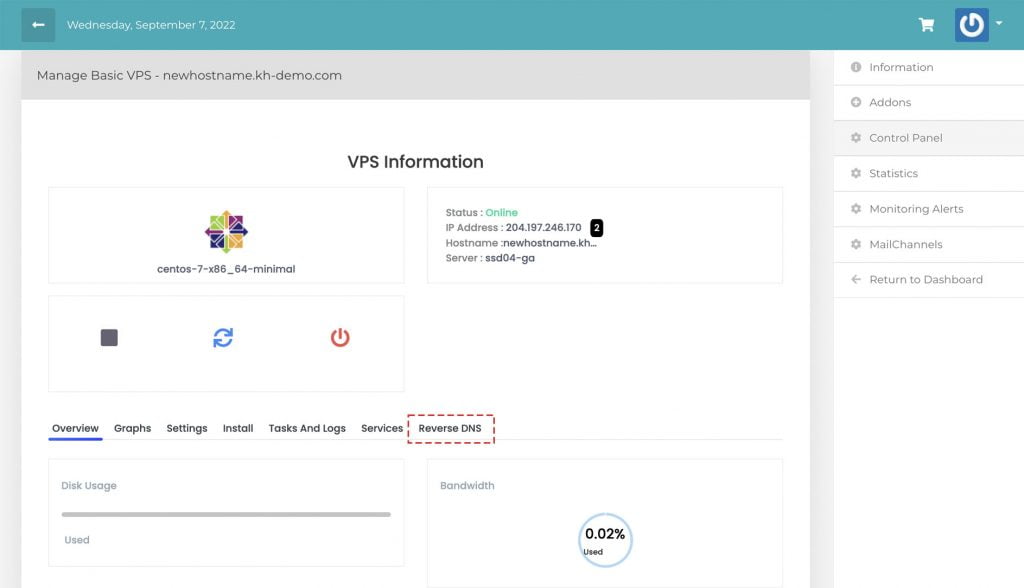
4. Navigate to Control Panel.
5. Again, navigate to Reverse DNS.
6. Select the IP address from the list → Enter the fully qualified domain name for rDNS record.
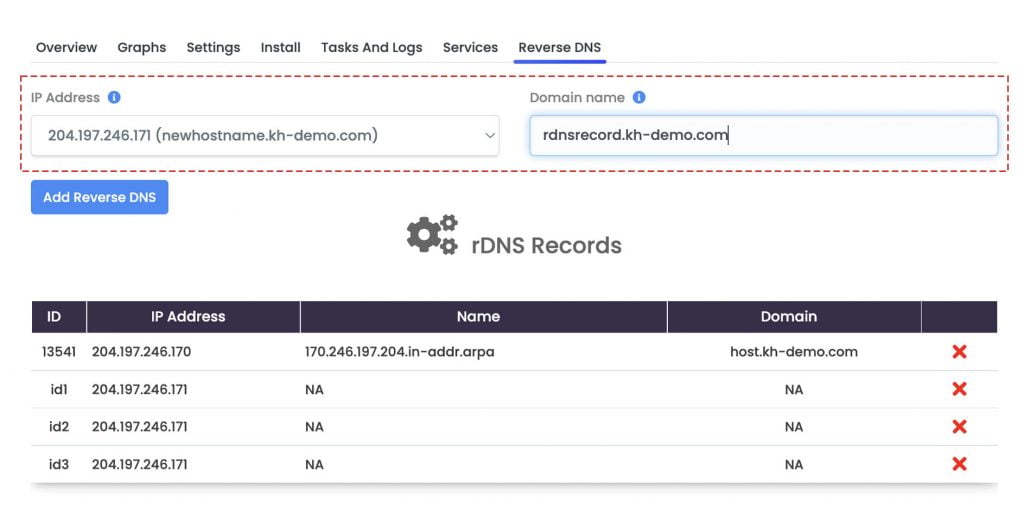
7. Finally, click on Add Reverse DNS.
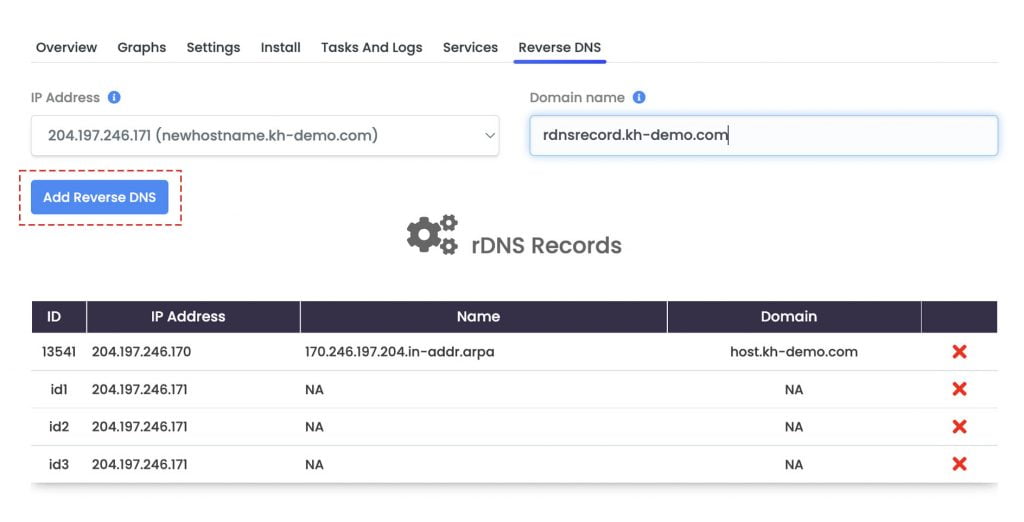
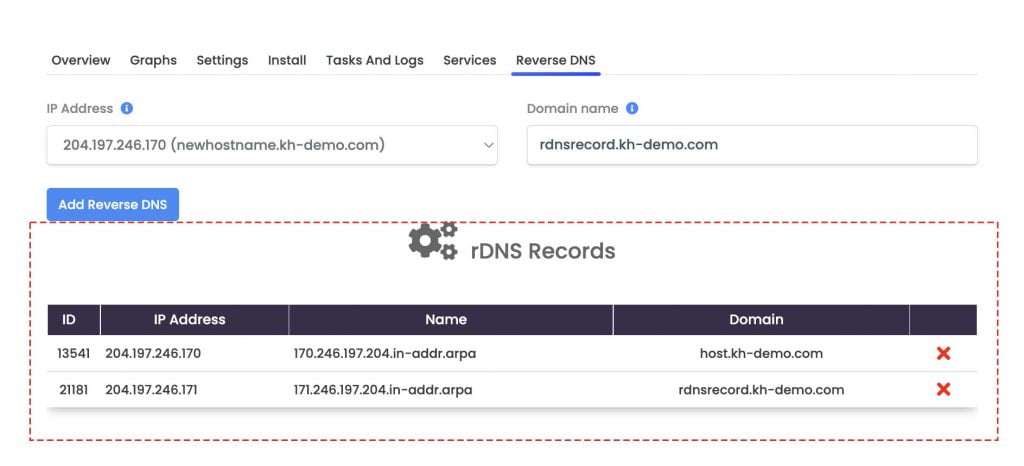
8. You can manage the configured rDNS record from Reverse DNS → rDNS Records.
Conclusion
Now that we’ve gone over it, how to configure the rDNS records for your VPS’s assigned IP addresses. You can remove/manage the already created rDNS records using the same interface.
KnownHost offers 365 days a year, 24 hours a day, all 7 days of the week best in class technical support. A dedicated team ready to help you with requests should you need our assistance. You’re not using KnownHost for the best webhosting experience? Well, why not? Check with our Sales team to see what can KnownHost do for you in improving your webhosting experience.