How to Create a DNS zone in WHM?
Last Updated: January 25, 2022
Learn, How to Create a DNS zone in WHM? cPanel/WHM allows you to direct traffic to the correct location using DNS zones. DNS zones are created in the format of pre-defined DNS templates.
This feature is useful if you want to manage the DNS for a domain within WHM, but aren’t hosting the domain on the same server. Created accounts have their DNS Zones created automatically.
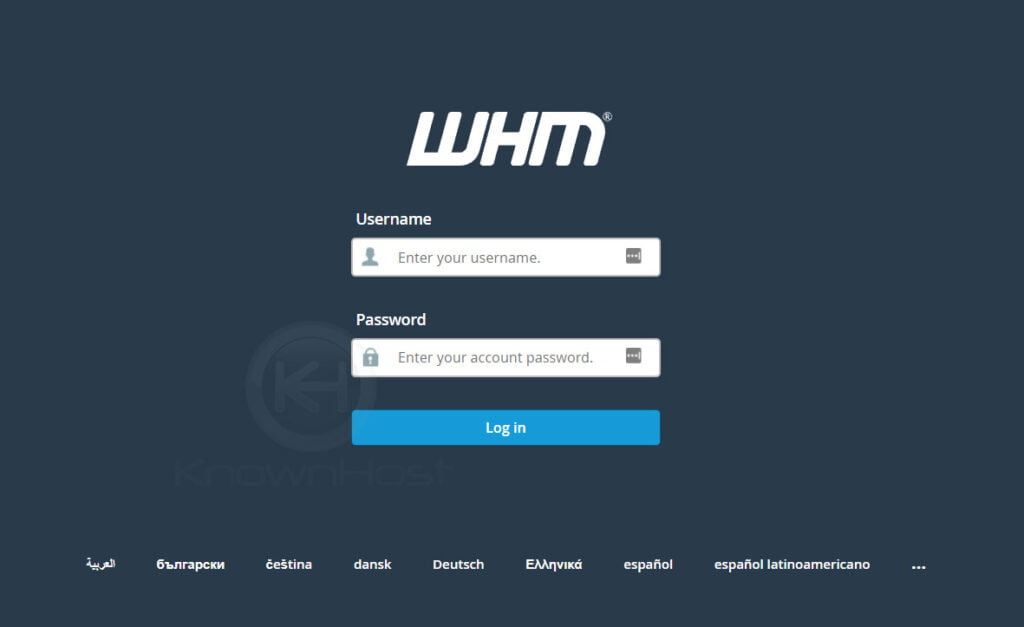
1. First, login into WHM panel,
https://your-domain.com:2087 or https://IP-address: 2087 or https://server-hostname: 2087.
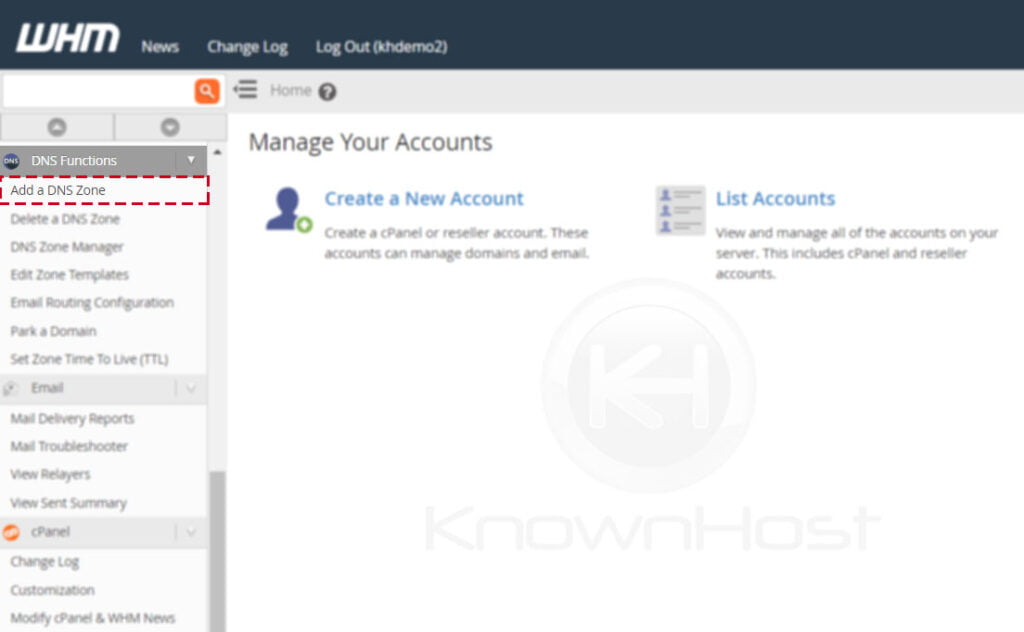
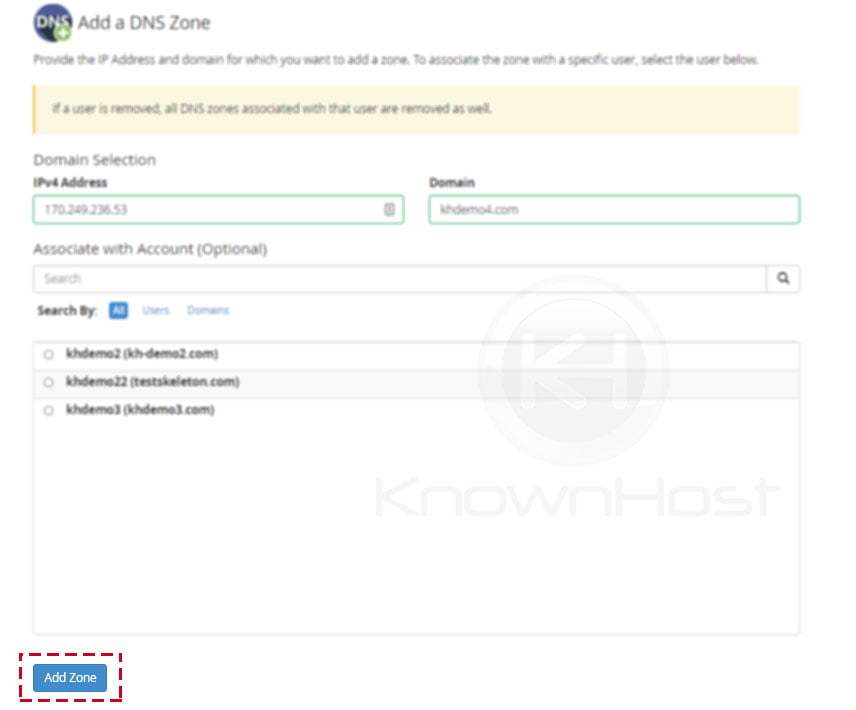
2. Navigate to DNS Functions → Add a DNS Zone.
3. Enter the required information,
IP Address: Enter the IP address.
Domain: Enter the domain name.
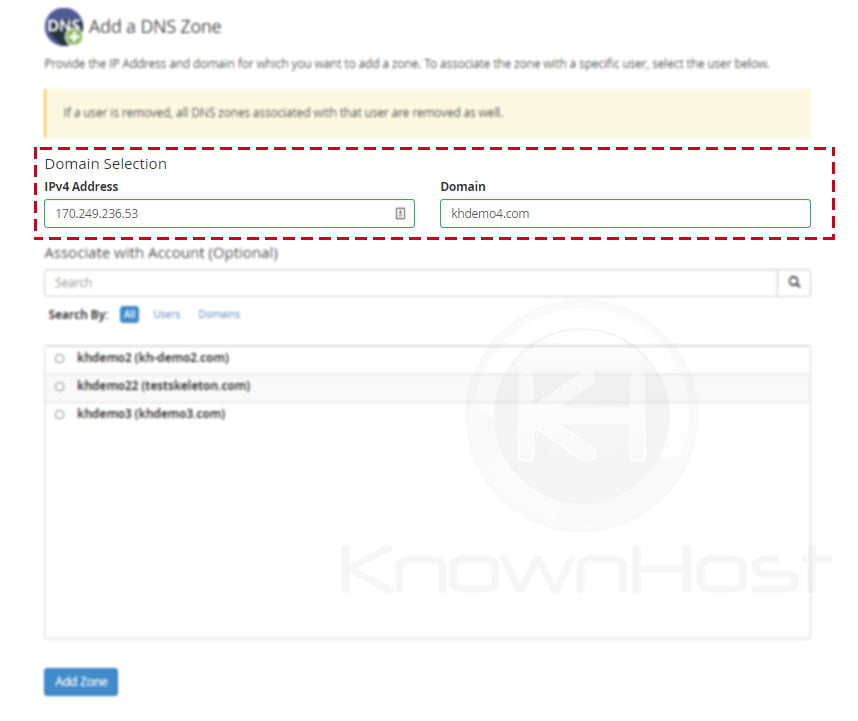
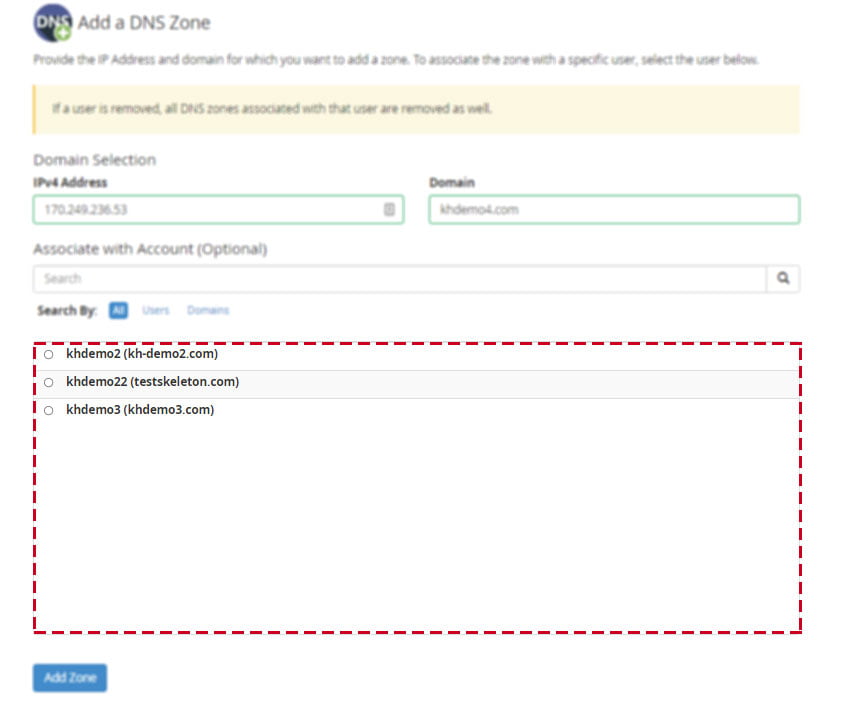
4. (Optional) If you want to associate DNS Zone with already hosted domain’ DNS Zone, select the appropriate domain name.
5. Finally, click on Modify.
Conclusion
Now that we’ve gone over how to create a DNS zone in the WHM panel. If you want to manage the WHM server’s DNS, make sure your domain points to the appropriate WHM server IP.
KnownHost offers 365 days a year, 24 hours a day, all 7 days of the week best in class technical support. A dedicated team ready to help you with requests should you need our assistance. You’re not using KnownHost for the best web hosting experience? Well, why not? Check with our Sales team to see what can KnownHost do for you in improving your web hosting experience.