CloudLinux | Installation & Setup – Part 1
Last Updated: January 23, 2026
CloudLinux is one of the best solutions for securing a shared hosting environment by isolating the file system and keeping the user’s process under the cage. Let’s learn how to set up CloudLinux and configure the CloudLinux properly on the Linux server.
Compatibility
CloudLinux Shared OS supports most operating systems supported by RHCEL/CentOS except the hardware that requires binary drives and doesn’t have any open-source alternative available online.
Supported OS for conversion
- AlmaLinux OS 8.
- CentOS 7 (EOL December 31st, 2024)
- CentOS 8 (EOL December 31st, 2021). Use almalinux-deploy to covert from CentOS 8 to AlmaLinux.
- Rockylinux (No uninstallation support).
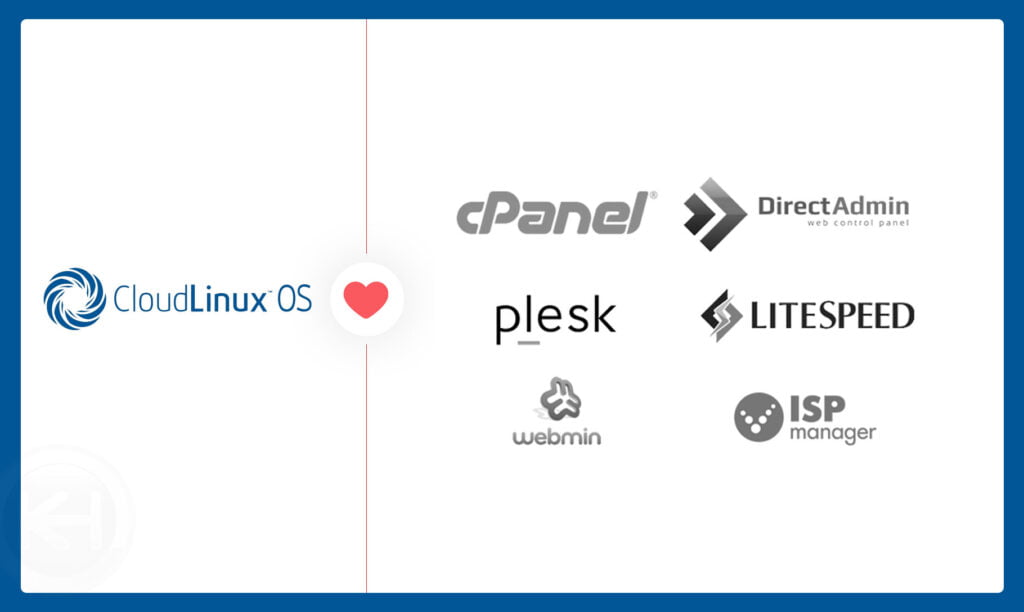
Supported control panels (Apache module, PAM module, Command Line Tools, LVE Manager)
- cPanel 11.94+.
- Plesk Obsidian 18.0.33+.
- DirectAdmin.
- InterWorx.
- ISPmanager 5 (You should purchase a license directly from ISPmanager and follow their installation guide).
Licensing
CloudLinux Shared OS comes at $15/mo/server cost if you take an individual license. Depending on the number of servers, the license prices vary. You can also request an internal CloudLinux license by contacting our Sales Team.
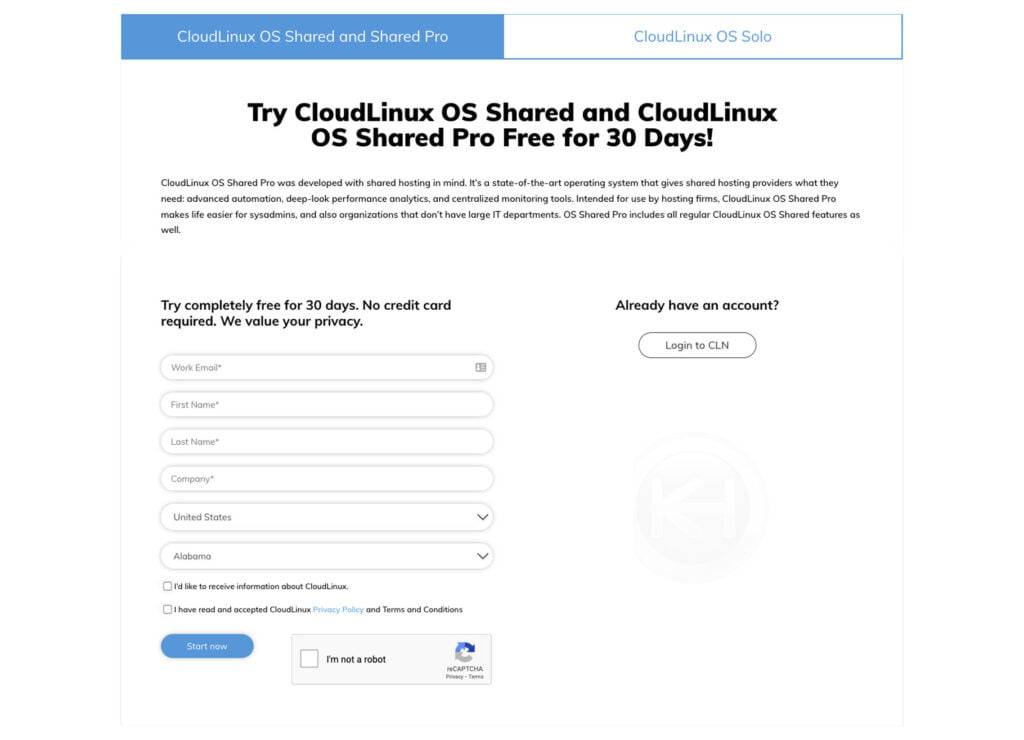
The good news is that CloudLinux offers a 30-days free trial. You can install CloudLinux, test, and deploy on the production environment as per the requirements. Again, you can contact our Sales team for any internal licensing services. Follow the below steps to acquire 30-days trial license,
- Register with CloudLinux Network: https://cln.cloudlinux.com/console/register/customer (skip it if you already registered)
- You will receive an email with an activation link
- Login at cloudlinux console page
- Click on
Get Trial Activation Key.
Installation
Once you get everything checked and activation key (Example: 12314-d34463a182fede4f4d7e140f1841bcf2) from CloudLinux you’re good to go with installation part.
Run the following commands to download cldeploy script,
wget https://repo.cloudlinux.com/cloudlinux/sources/cln/cldeployFor activation key based installation, run the following command,
sh cldeploy -k < CL activation_key >For IP based licensing, run the following command,
sh cldeploy -iFinally, after complete installation, run the following command to reboot the Linux server,
rebootVOILA!! After a reboot, your server is finally serving through CloudLinux Shared OS and LVE Manager.
Setup
You have successfully installed CloudLinux on the server. The first step you should do is configure the CloudLinux properly.
For cPanel: Navigate WHM → LVE Manager.
For DirectAdmin: Dashboard → CloudLinux Manager.
(For every panel the CloudLinux user interface should be the same).
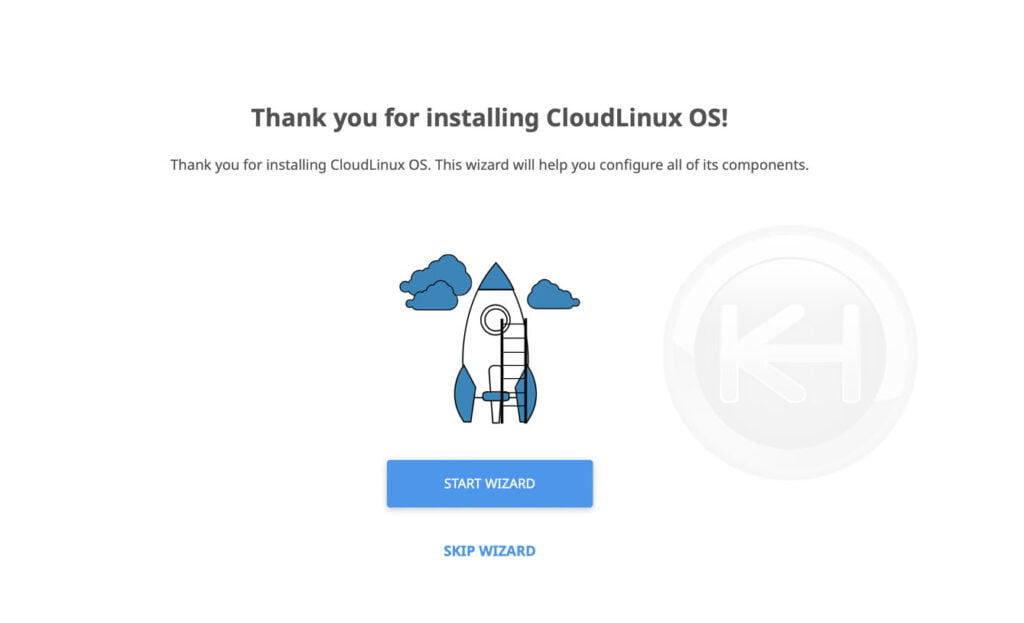
For the first time you open CloudLinux through the control panel, you should encounter a standard welcome screen, and there you need to click on the START WIZARD option.
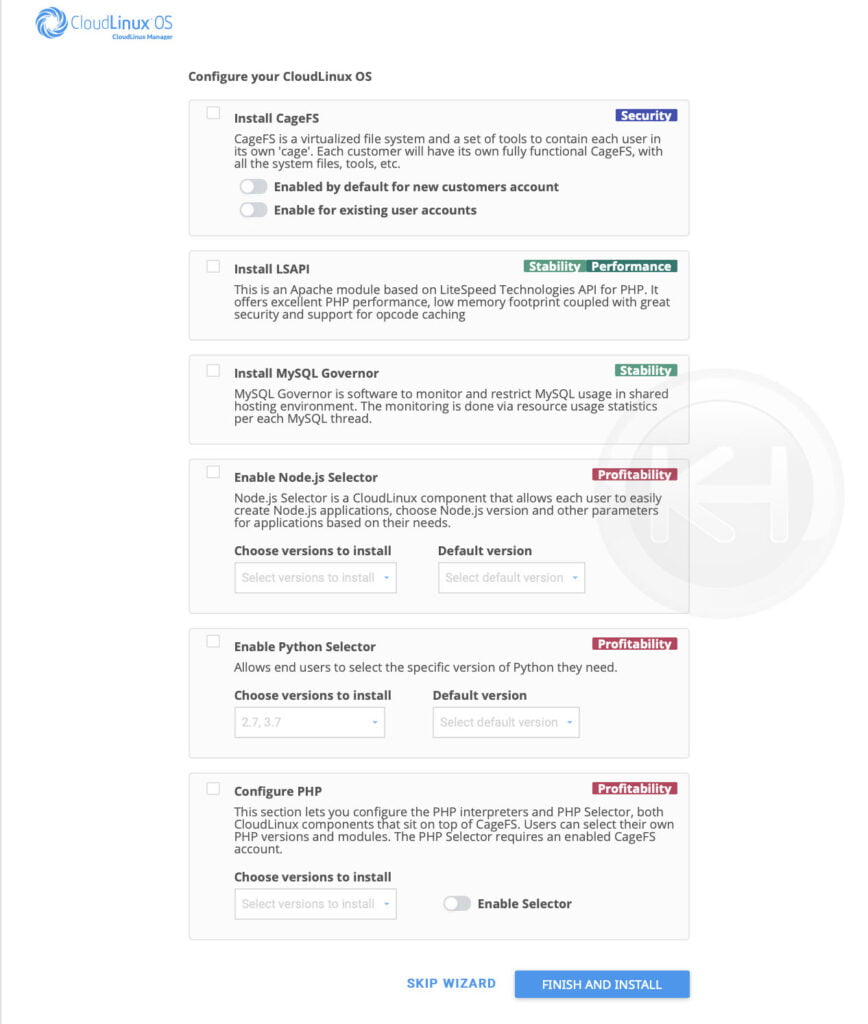
Here you have the first step of configuration and the choice of features that you would like to enable with the CloudLinux,
CageFS: CageFS is a virtualized file system and a set of tools to contain each user in its own ‘cage’. Each customer will have its own fully functional CageFS, with all the system files, tools, etc.
LSAPI: This is an Apache module based on LiteSpeed Technologies API for PHP. It offers excellent PHP performance, a low memory footprint coupled with great security and support for opcode caching.
MySQL Governor: MySQL Governor is software to monitor and restrict MySQL usage in a shared hosting environment. The monitoring is done via resource usage statistics per each MySQL thread.
Node.js Selector: Node.js Selector is a CloudLinux component that allows each user to easily create Node.js applications, and choose Node.js version and other parameters for applications based on their needs.
Configure PHP: This section lets you configure the PHP interpreters and PHP Selector, both CloudLinux components that sit on top of CageFS. Users can select their own PHP versions and modules. The PHP Selector requires an enabled CageFS account.
Once you are done with the selection → Click on FINISH & INSTALL. CloudLinux should take a couple of minutes to complete installation, depending on the server hardware and the network.
Let’s take walk around the CloudLinux interface,
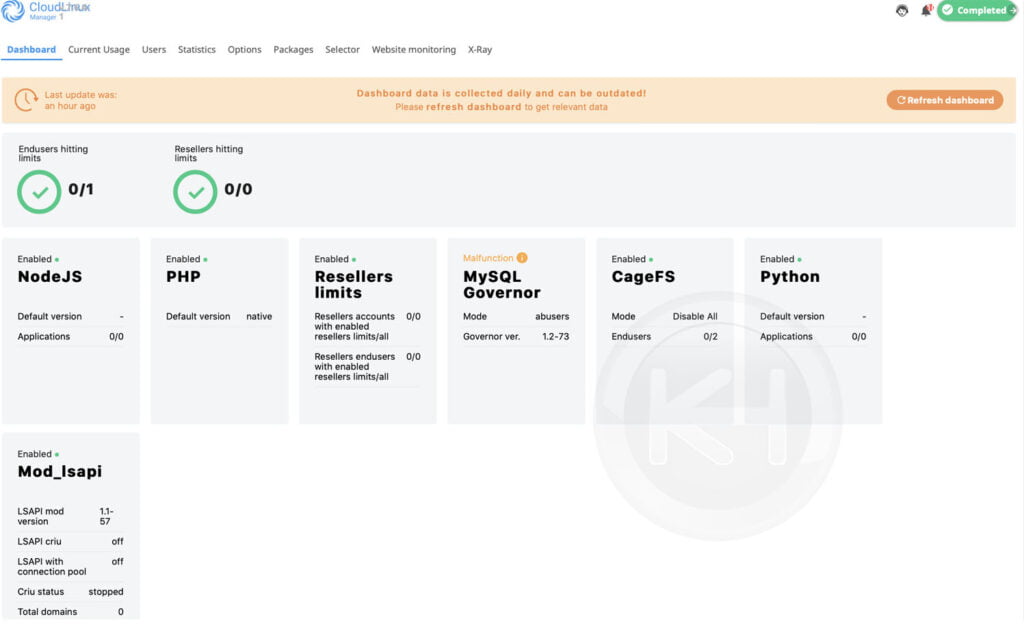
Dashboard: This is the summary interface of CloudLinux, which will let you know the status of every other feature enabled with CloudLinux, such as NodeJS, Python, etc. Also, you will be able to see the number of users and resellers hitting the designated resource limits.
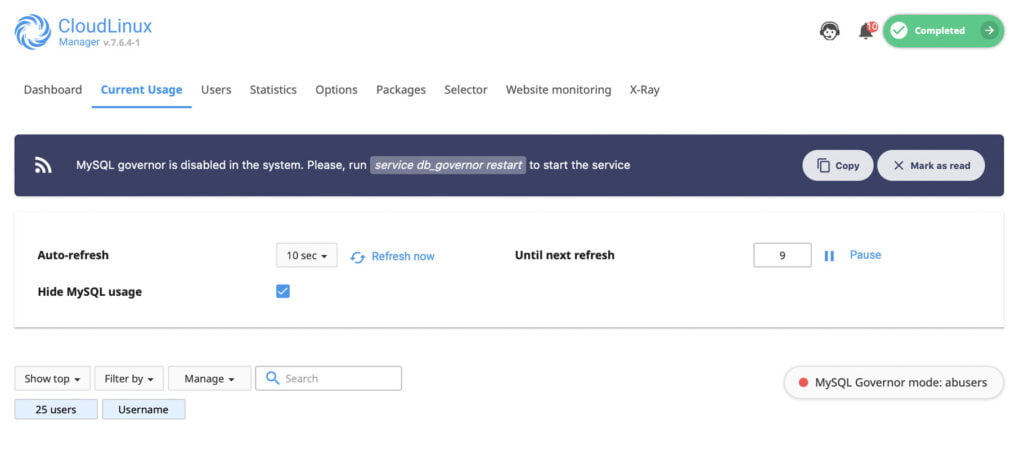
Current Usage: In this interface, you will get live usage of the users hitting the limits (CPU, RAM, IO, etc.).
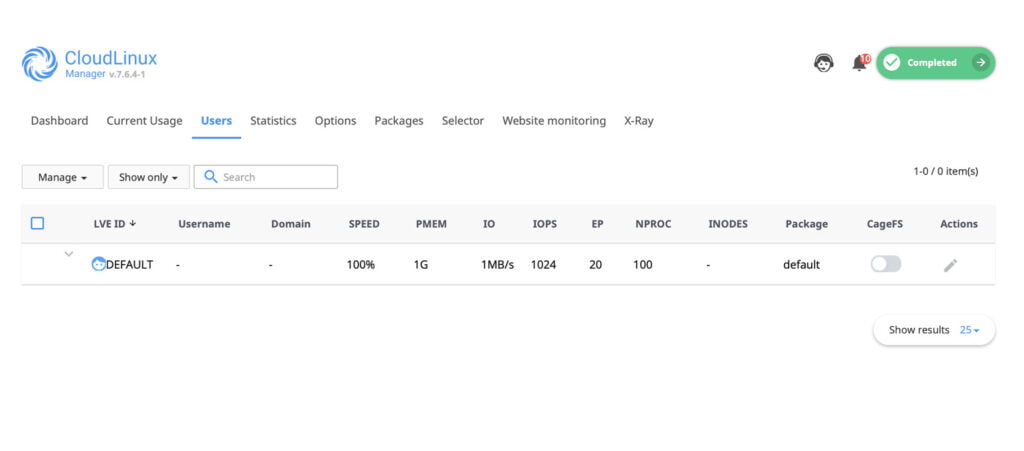
Users: Here, you will have a list of users and their configured limits. You can also modify the individual user custom assignment of the resources using this interface.

Statistics: The statistic interface will filter out the average usage of every parameter of the users according to time. Let’s take an example e if you would like to check out the moderate use of the users in the last 10 minutes. In the timeframe selected “Last 10 minutes,” you will get a static report of the users fileting out the most usage users at the top of the limit.
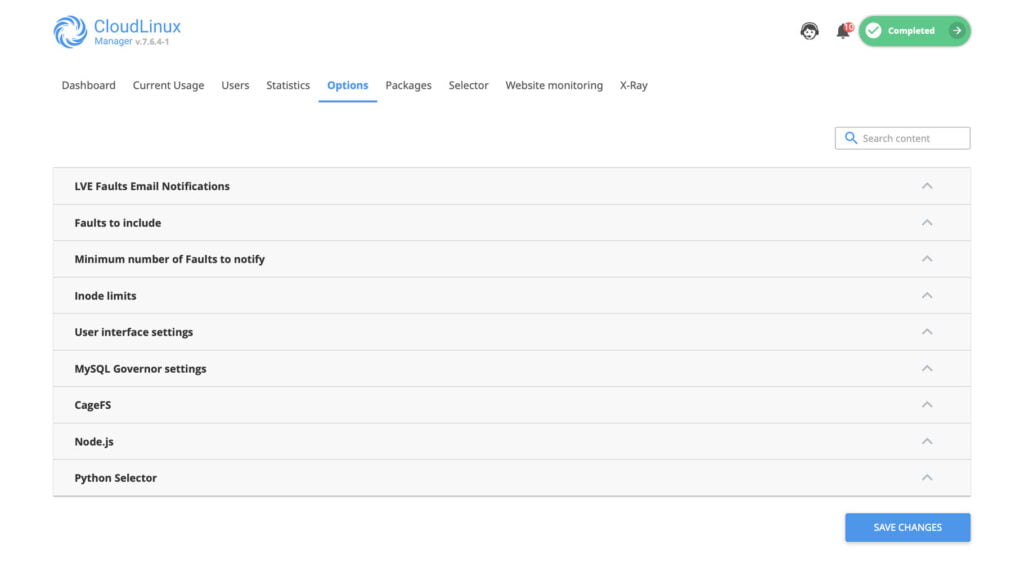
Options: This is an available configurable option for configuring notifications, Python selector, MySQL governer, CageFS, NodeJS, user interface, etc.
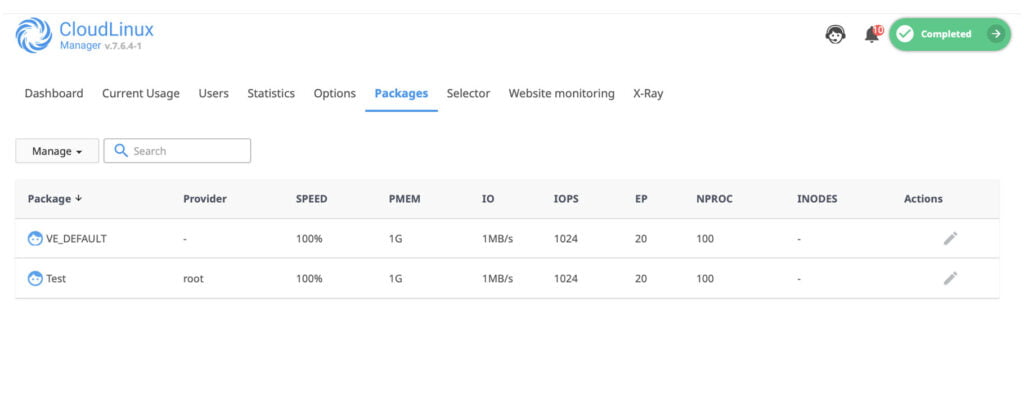
Packages: Interface using which you can configure the limits for the packages and which will be implemented on the users.
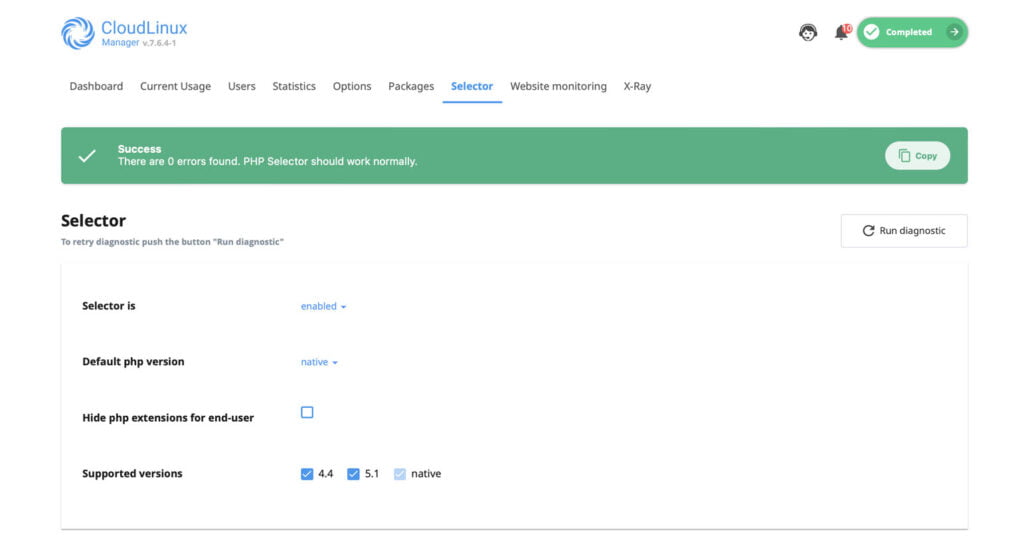
Selector: This is an interface to configure the PHP selector settings.
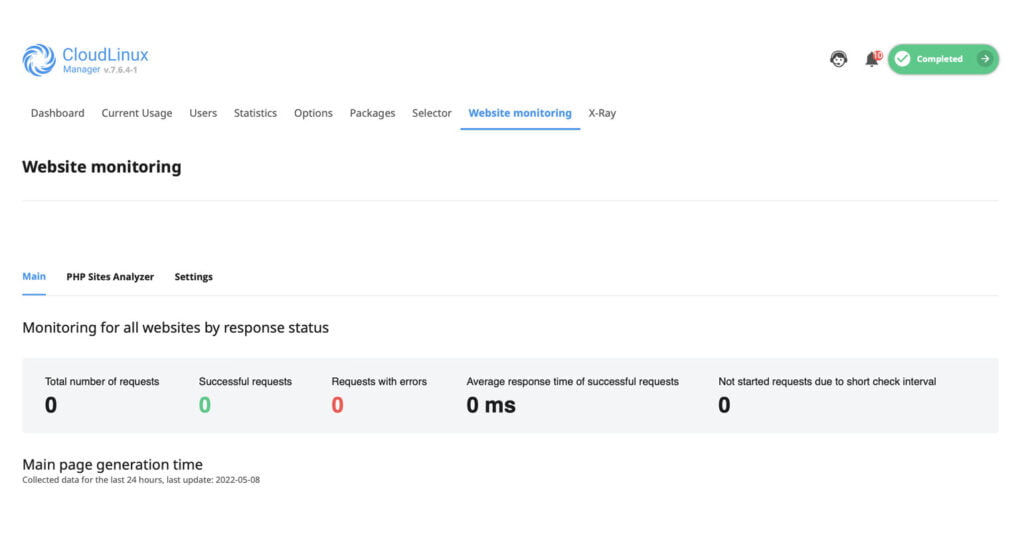
Website Monitoring: Using this interface you can monitor the website’s number of requests, PHP reports such as slow URLs per domain, slow requests per domain, etc.
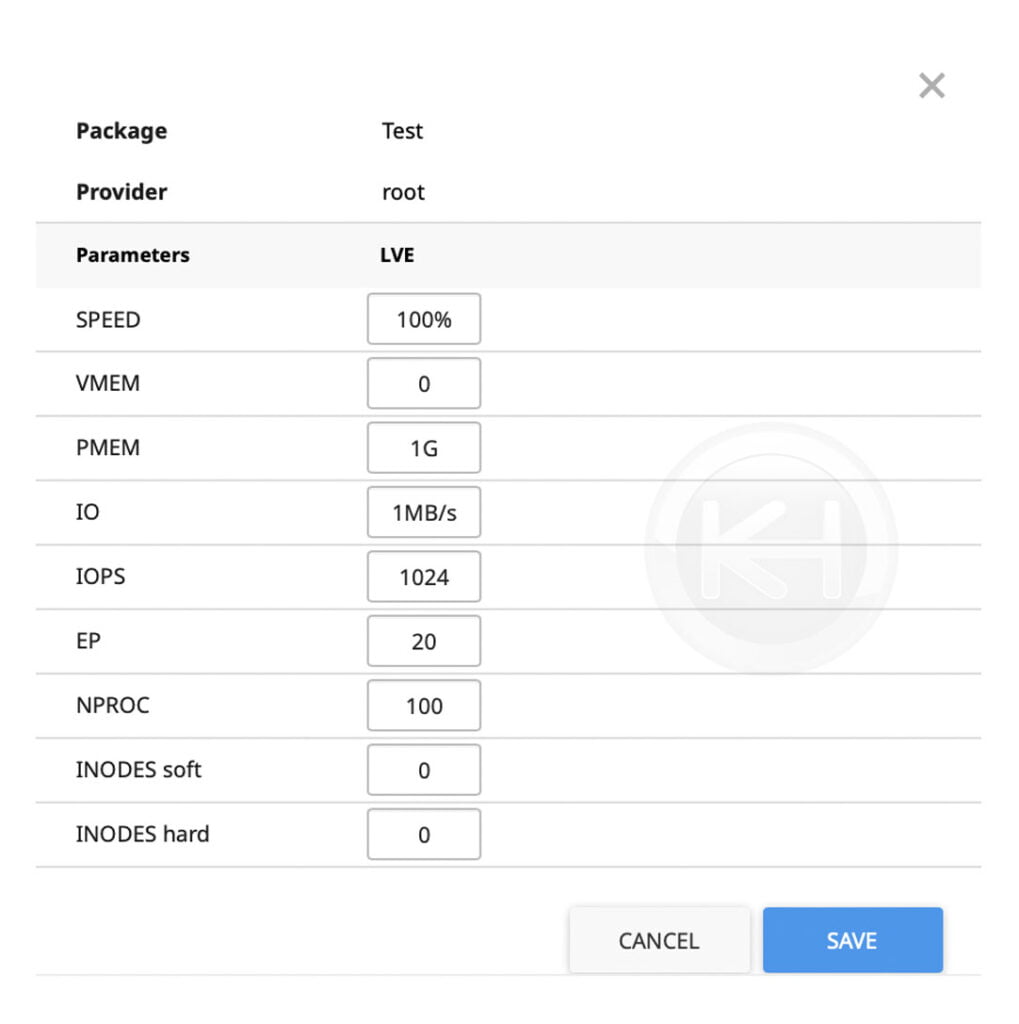
Package Configuration
Once you are done creating packages, all you need to navigate to CloudLinux → Packages to configure the limits on every individual package,
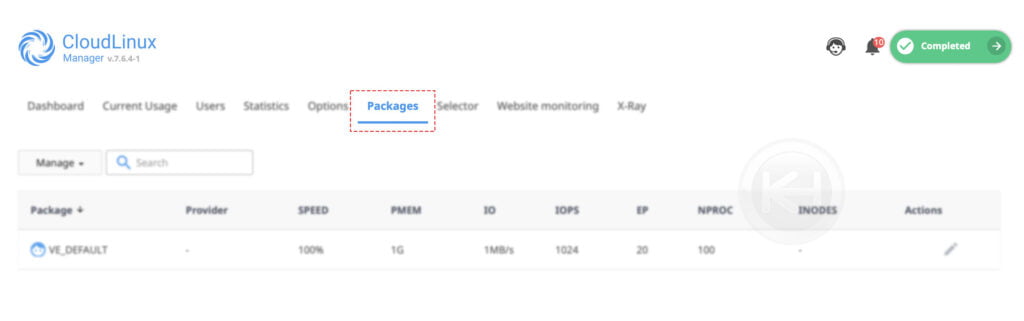
Here, you have a list of already created packages. To edit the package, click on the Pencil icon,

CloudLinux offers various limits that you can configure for every individual package,
Speed: CPU speed limit, relative to a single core, or specified in HZ (portable across CPU s).
PMEM: Physical memory limit. It also includes shared memory and disk cache.
VMEM: Virtual memory limit (VSZ field in ps/VIRT in top).
IO: IO throughput – combines both read & write operations.
IOPS: Restricts the total number of reading/write operations per second.
NPROC: Max number of processes within LVE.
EP: Limit on entry process. Usually represents max number of concurrent connections to dynamic apache scripts and SSH and cron jobs running simultaneously.
After configuring required parameter limits → Click on SAVE. You repeat the same procedure to configur limits for the every other package available on the server.
Additional Tips
Congratulations! You have successfully installed CloudLinux and configured the limits per package/user. Installing CloudLinux is one of the need-to-required solutions to strengthen your web server security. Furthermore, we would highly recommend installing and configuring the following additional applications,
Imunify360: Comprehensive, advanced firewall with a real-time malware scanner for your shared server.
Kernel Care: Live kernel patching, bug fixes for popular Linux kernels without a reboot.
Also, we have covered detailed article on What is CloudLinux? with introducing how CloudLinux will help you securing the web server and saving a lot of your hard-earned money.
Conclusion
We have covered the most straight forward way to install & configure the CloudLinux OS on linux server. Also, we guided you through the procedure on getting trial license;
KnownHost offers 365 days a year, 24 hours a day, all 7 days of the week best in class technical support. A dedicated team is ready to help you should you need our assistance. Are you not using KnownHost for the best Webhosting experience? Well, why not? Check with our Sales team to see what can KnownHost do for you to improve your web hosting experience.