How to quick-block an IP with CSF (WHM)
Last Updated: November 18, 2021
If you’ve been getting a lot of alerts for a specific IP that’s listed in a CSF e-mail but CSF hasn’t blocked the IP and you want to block the IP, these are the steps that will help resolve the noisy e-mails as well as keeping your server safe from attacks such as SQL injections and other such malicious behaviors.
We’ll go through the step-by-step process to help you block an IP address within WHM.
Blocking an IP
The first thing you’ll want to do is login to WHM:
- Log into WHM.
- At the home screen after you’ve logged in, click on the icon that says Plugins
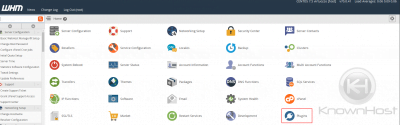
- Click ConfigServer Security & Firewall.
Note that in this screenshot, there are additional plugins loaded on this server that may not be available on your server, so consider this an example screenshot:

- Scroll down to the button that says Quick Deny.
This button should have a red text field to the right of it. This is the option you want to use for blocking an IP.
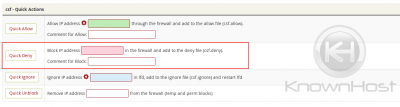
- Input the IP you want to block in the red text field.
Add a comment like SQL injection attempt in this case. Optional but useful if you want to remember why you blocked an IP. You’ll see an example screenshot of how to input an IP and a comment.
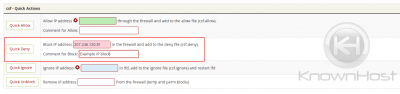
- Click
Quick Denyafter you’ve done the above steps to apply the block.
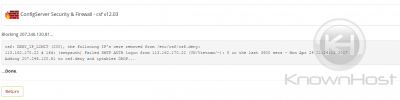
Once the block has been applied, you’ll then be taken to a screen confirming that the changes has taken effect immediately. Sometimes there will be a message that indicates an old IP in the block list has been removed. This is acceptable, as too many IPs in the deny or allow list can slow down the IP. If the old offending IP tries to compromise your server, it will simply get blocked again automatically.
That’s it, you’ve now successfully added an IP to be blocked by the servers firewall.