How to clone your WordPress for staging
This article covers how to clone your website or setup a staging site for your WordPress website through the Plesk interface.
We’ll be going over the steps required to make this process simple and easy.
Step 1: Login to your Plesk interface
You can login to Plesk through two methods.
- Through your my.knownhost.com dashboard following this method: one-click login
- Through the direct URL received in your ‘Welcome Email’
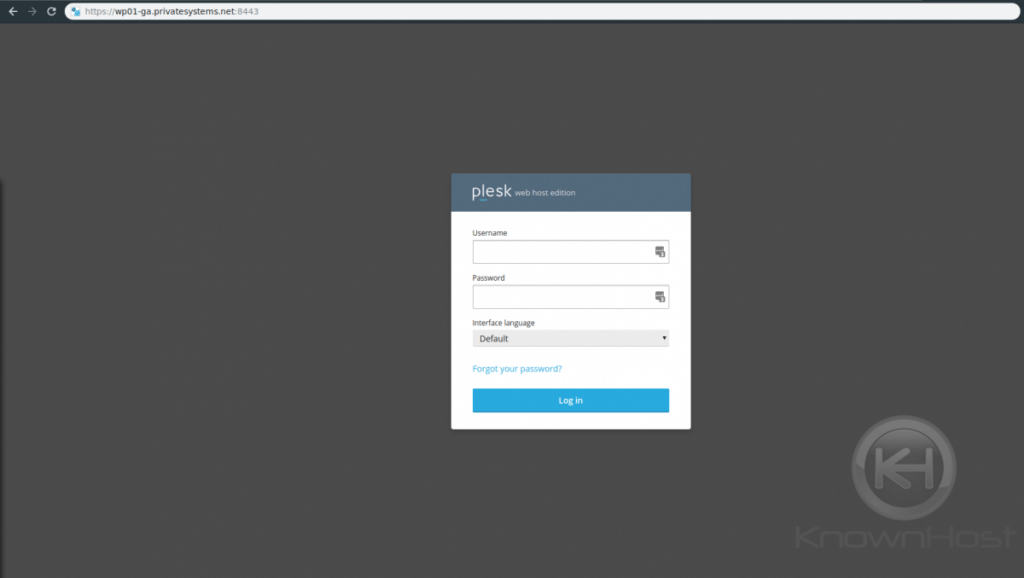
If you choose the latter; you should see the following page.
Step 2: Access “WordPress Management Interface”
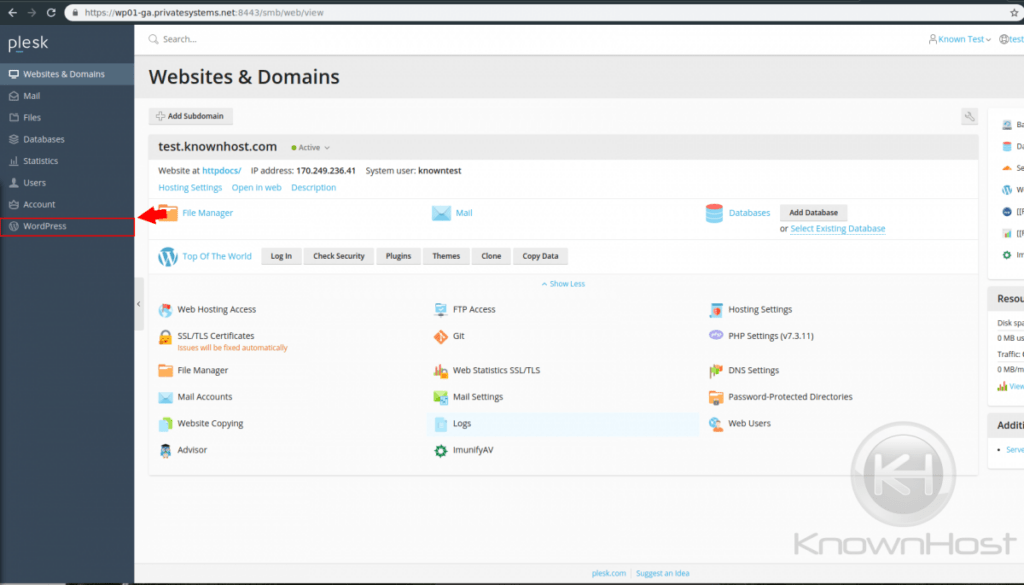
Once logged in, you’ll want to click “WordPress” on the left-hand side as highlighted below:
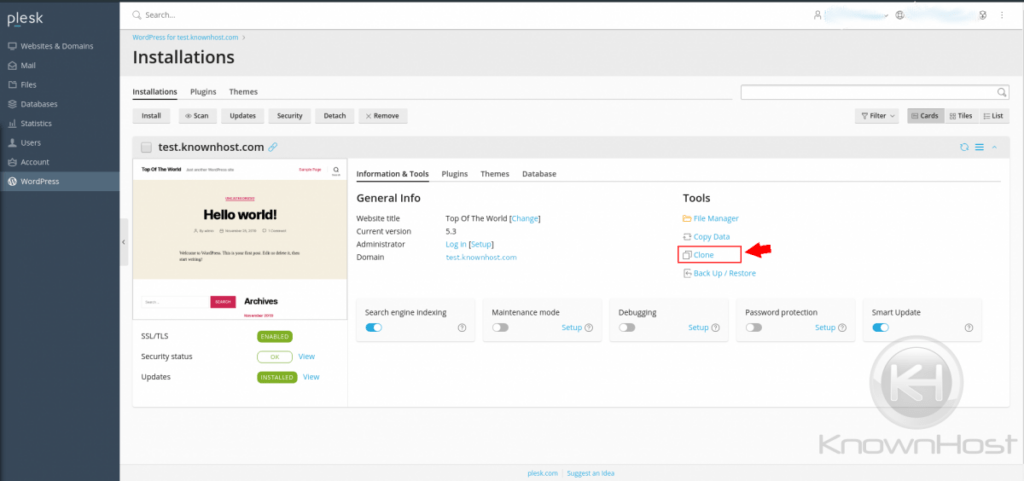
Now that you’re within the WordPress Management interface, you’ll want to look under “Tools” and click “Clone” as highlighted below:
Step 3: Set your parameters
Once you’ve clicked “Clone” this should bring up the following window:
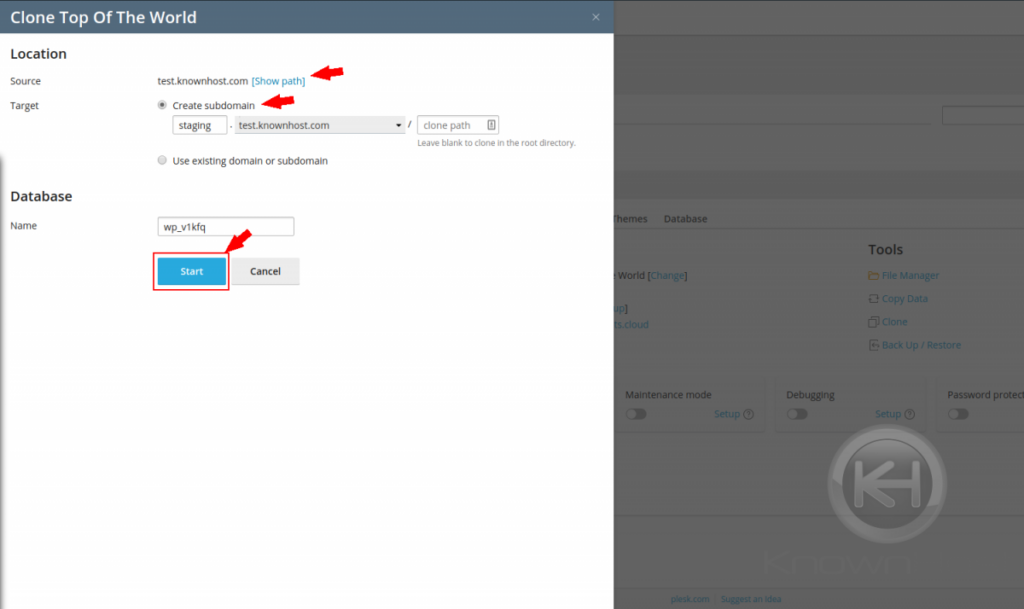
This is asking you to choose a source (typically default) then set a target.
This will create a subdomain on your behalf. We recommend utilizing the default subdomain root directory.
It will create a database for you and update your configuration files.
Click “Start” and the process will begin to copy/clone your WordPress website into a staging website so that you can work on it separately from your live website.
Conclusion
Have a WordPress website? Check out our Managed WordPress Hosting and see if we are a good fit for you. KnownHost offers 365 days a year, 24 hours a day, all 7 days of the week best in class technical support. A dedicated team ready to help you should you need our assistance. You’re not using KnownHost for the best webhosting experience? Well, why not?