How to access WordPress Management Interface
Last Updated: March 10, 2023
This article covers how to access your WordPress management interface through the Plesk interface.
We’ll be going over the steps required to make this process simple and easy.
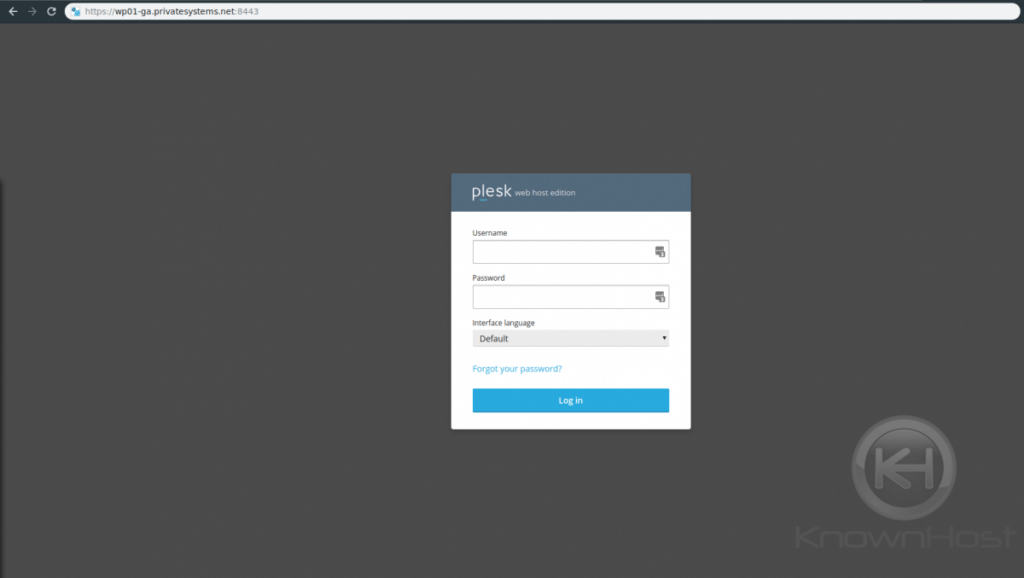
Step 1: Login to your Plesk interface
You can login to Plesk through two methods.
- Through your my.knownhost.com dashboard following this method: one-click login
- Through the direct URL received in your ‘Welcome Email’
If you choose the latter; you should see the following page.
Step 2: Access the WordPress Management Interface
You’ll want to access the WordPress Interface by clicking the “WordPress” button on the left-hand side of the Plesk interface as highlighted.

Now that you’ve clicked that button, you should see the following screen:
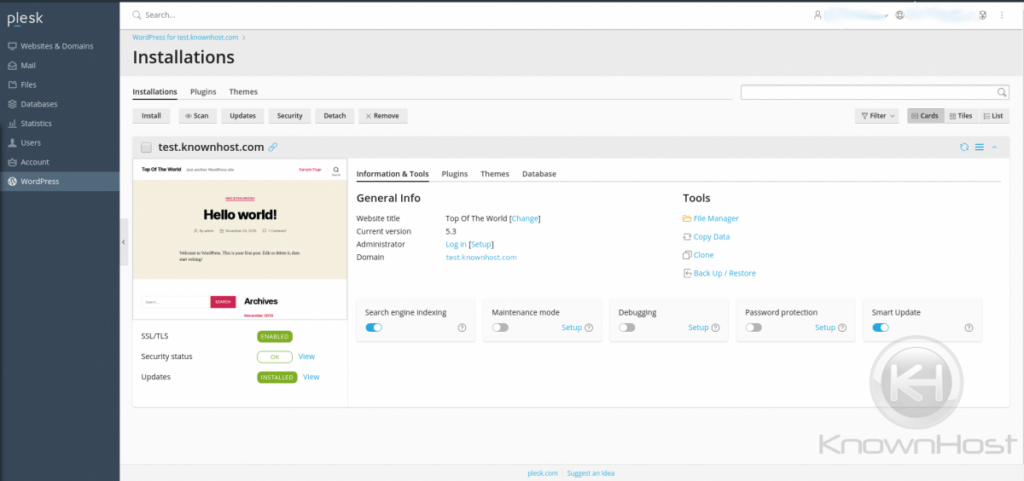
Within this area, you can do the following functions for your WordPress website
- Scan for changes
- Check for updates
- Security check of common issues
- Manage Plugins
- Manage Themes
- Manage Database
- Set Maintenance Mode
- Set Debugging Mode
- Set password protect
All of these features allow for the ease of management of your WordPress website.
Conclusion
Have a WordPress website? Check out our Managed Hosting for WordPress and see if we are a good fit for you. KnownHost offers 365 days a year, 24 hours a day, all 7 days of the week best in class technical support. A dedicated team ready to help you should you need our assistance. You’re not using KnownHost for the best webhosting experience? Well, why not?