How can I upgrade WordPress?
Last Updated: January 20, 2022
This article will cover a few different ways to upgrade your WordPress website. Please note that upgrading WordPress is considered developmental and any issues that may occurs as result, KnownHost can not be held responsible for.
To check and see what version of WordPress you have installed, check out our How can I check what versions […] article or simply check from your WordPress Admin Panel. To confirm the “latest” stable release of WordPress you can visit their official WordPress Download page. You should see something similar to: “The latest stable release of WordPress (Version X.X.X) is available in two formats from the links to your right.” X.X.X being the latest version.
Upgrade WordPress from WordPress Admin Panel
- Login to your WordPress install’s Admin Panel. ( Typically something like: khwpupgrade.com/wp-admin/ or khwpupgrade.com/wp-login.php )
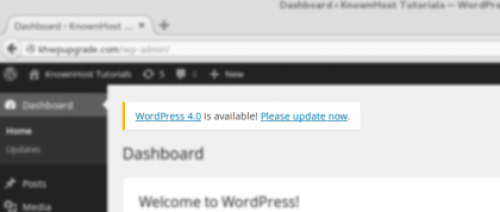
- Recent versions of WordPress’s default dashboard have a notification at the time when updates are available.
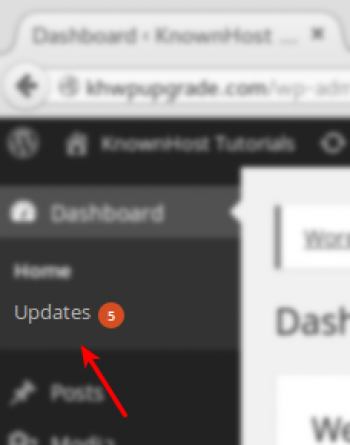
- From here, you can click ‘Please update now’. however if you do not see this, click the ‘Updates’ link under the Dashboard tab to proceed.
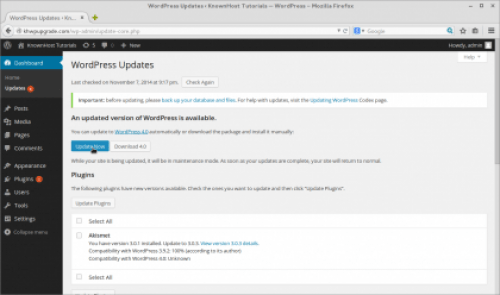
- You will be presented with the WordPress Updates page. If an update is available you’ll see “An updated version of WordPress is available.” in bold letters with a corresponding blue button, ‘Update Now’ below it.
- Simply click the Update Now button and the upgrade process will begin automatically!
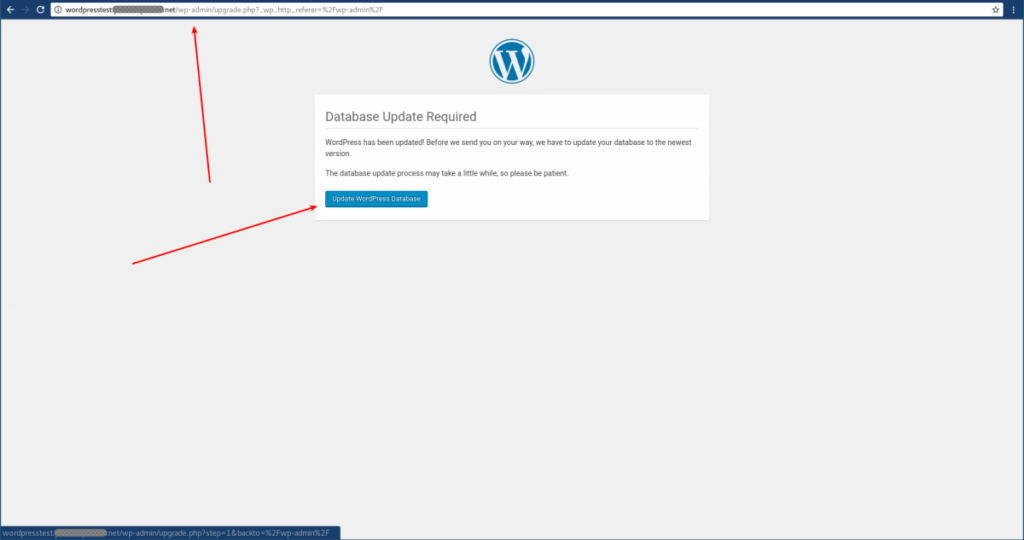
- Some upgrades ( typically when changing core versions ex. 3.9.2 → 4.0 ) require the database to be updated. If it’s required you’ll be prompted with a page requested that you update the database.

- Simple enough, click the Update WordPress Database to proceed. ( It’s a good idea to create a MySQL database backup before proceeding. Ref: How can I create MySQL DB Backups? )
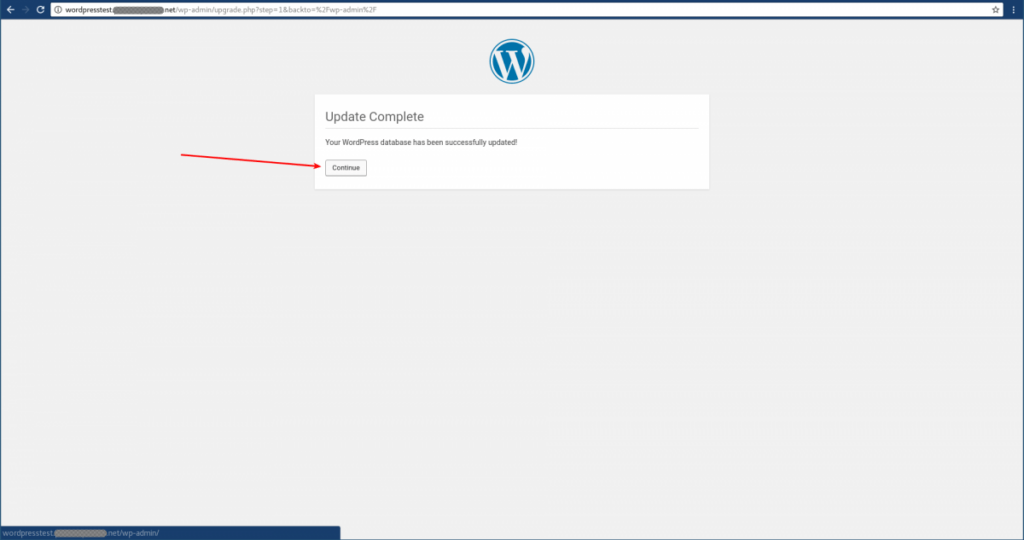
- Depending on the size of your database, the update will finish and you’ll see “Update Complete”. You’ll be prompted to log back in as the admin user after it’s completed successfully.
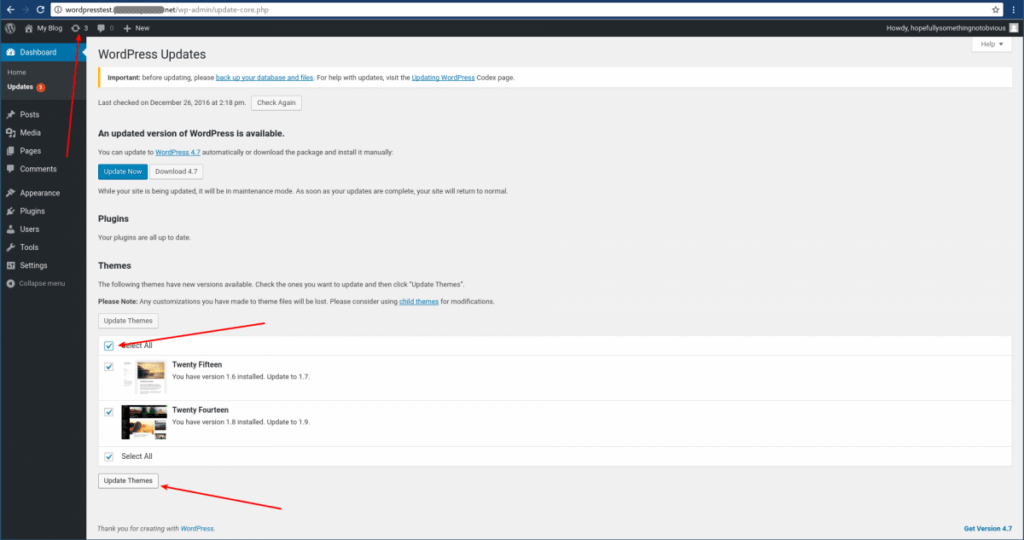
Updating Themes and Plugins
Once logged into the WordPress admin panel and on the “Updates” page as mentioned earlier, there will also be a list displayed of any plugins or themes with updates available (if any). You can use the checkboxes next to the listed plugins and themes to select them, and then use the appropriate update button to update all selected plugins or themes.

Update via Softaculous
If you have the Premium version of Softaculous, and if you have configured Softaculous to watch this particular instance of WordPress, you can use Softaculous to update it. From WHM you can go to “Home → Plugins → Softaculous – Instant Installs → Installations → Outdated Installations” to see a list of Softaculous-watched applications which are in need of updates.
WordPress can also be updated via Softaculous from within the cPanel interface. To do so, log into the cPanel interface as the desired user, then go to “Home → Software → Softaculous Apps Installer”, then proceed as described here. If any of the Softaculous-installed scripts have any updates available, there will be a notification near the top indicating this. Clicking on this will bring you to a list of Softaculous-installed applications in need of updating. In the “Version” column, any instance that needs to be updated will have a blue icon next to the version number, that looks like circular arrows. Clicking on this will lead to the Upgrade page for that script for confirmation, where there will be a larger rectangular blue button that says “Upgrade”. Clicking this upgrade button will start the upgrade process for you.
Manual Update
Sometimes certain issues will make it necessary to upgrade WordPress manually. The process is briefly described here. More detailed instructions can be found here. If you are upgrading from a very old version of WordPress, it is recommended to use the more detailed “extended” version of the instructions, which provides more details about special cases that apply for very old versions. With either method, it is strongly recommended to create a Full cPanel Backup of the whole cPanel account before starting, in case the process needs to be reverted. For your convenience, we also summarize the instructions here:
- As always, you should start by making a backup. If you want to be able to restore the backups from within the cPanel interface, you will need to use Partial Backups instead of the Full Backups. Since wordpress updates often make changes both to the files and to the database, it is important to download both of these types of Partial Backups. If you are not familiar with the backup process, the Backup Wizard is likely to be easiest.
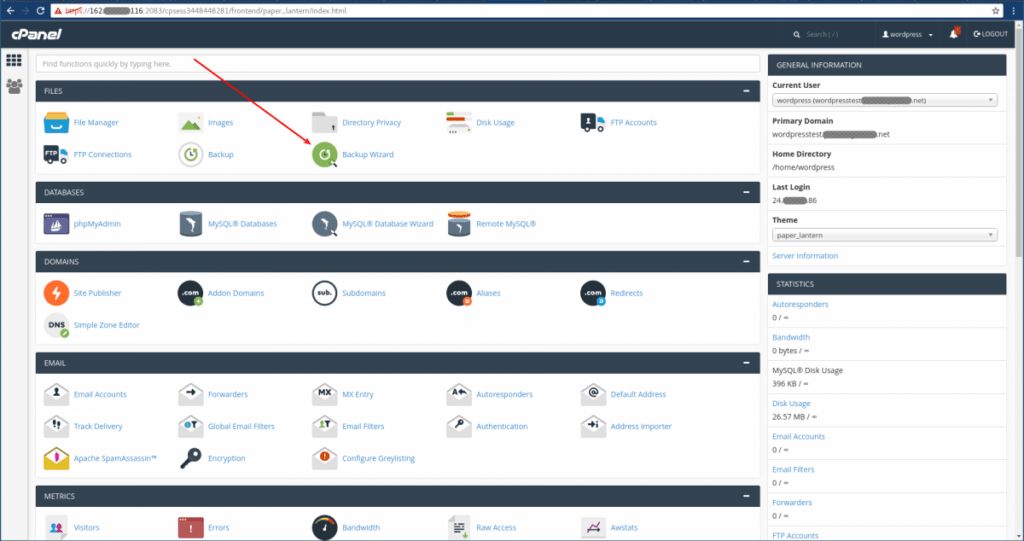
- From the cPanel dashboard, choose “Backup Wizard” in the “Files” section.
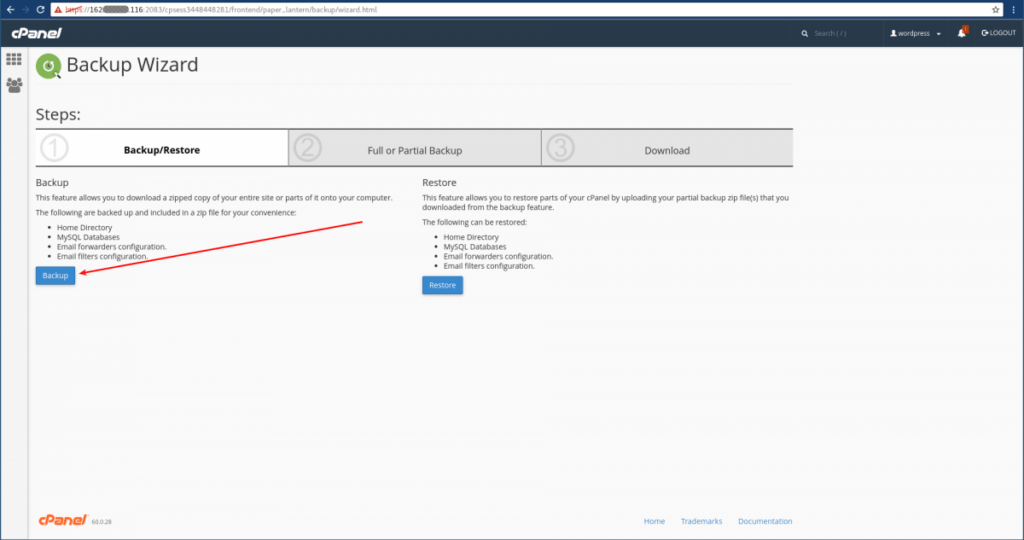
- Choose “Backup”
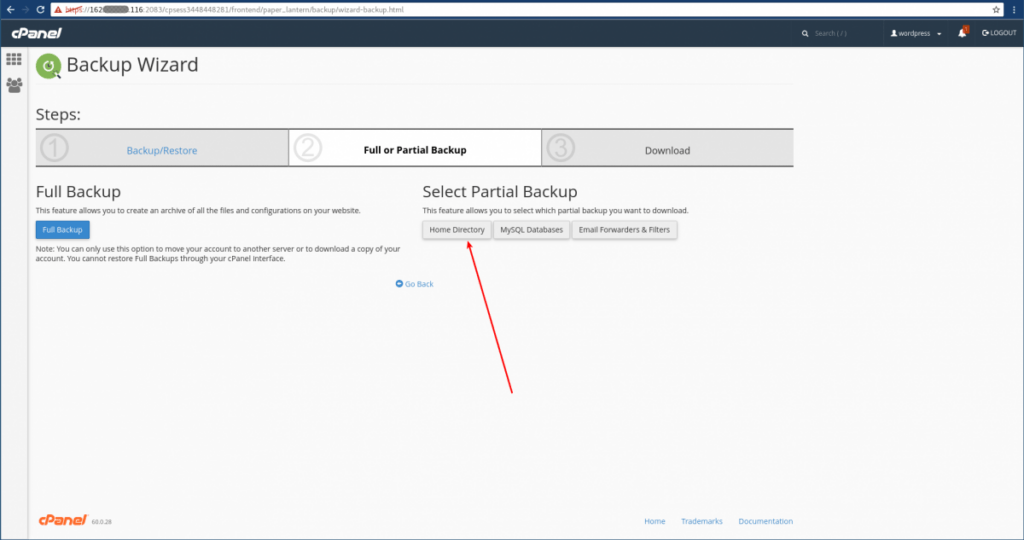
- Since part of what we will be changing is the files, we will need to backup the Home Directory.
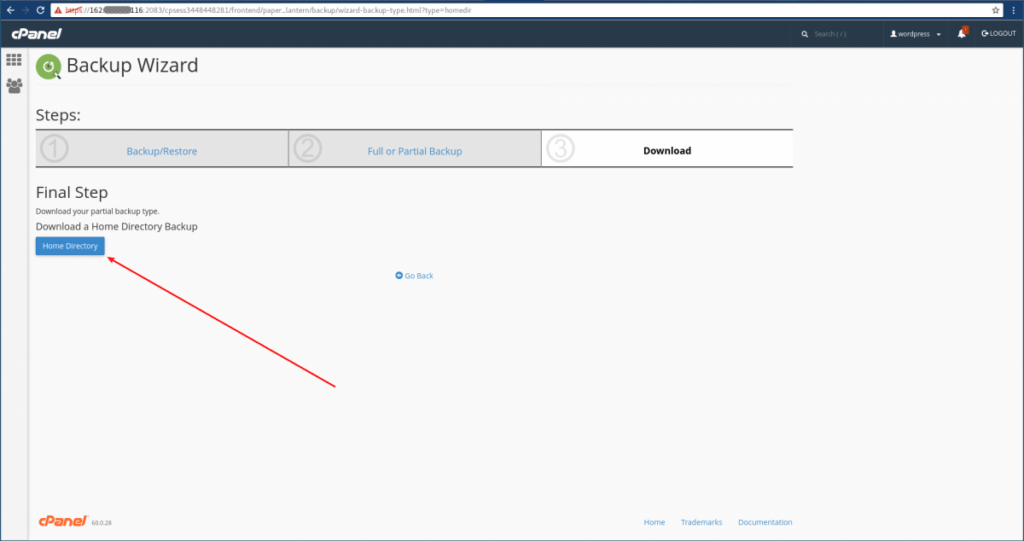
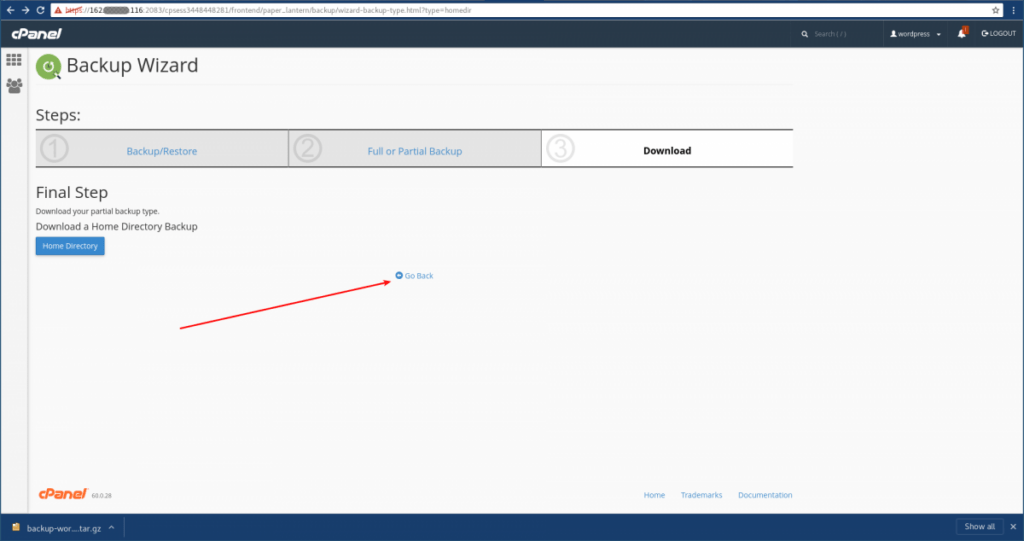
- Then click the new “Home Directory” button to initiate the download itself. Depending on the size of the home directory and on your connection speed, this download may take some time.
- Next, use the “Go Back” link so we can select the type of backup for the next download.
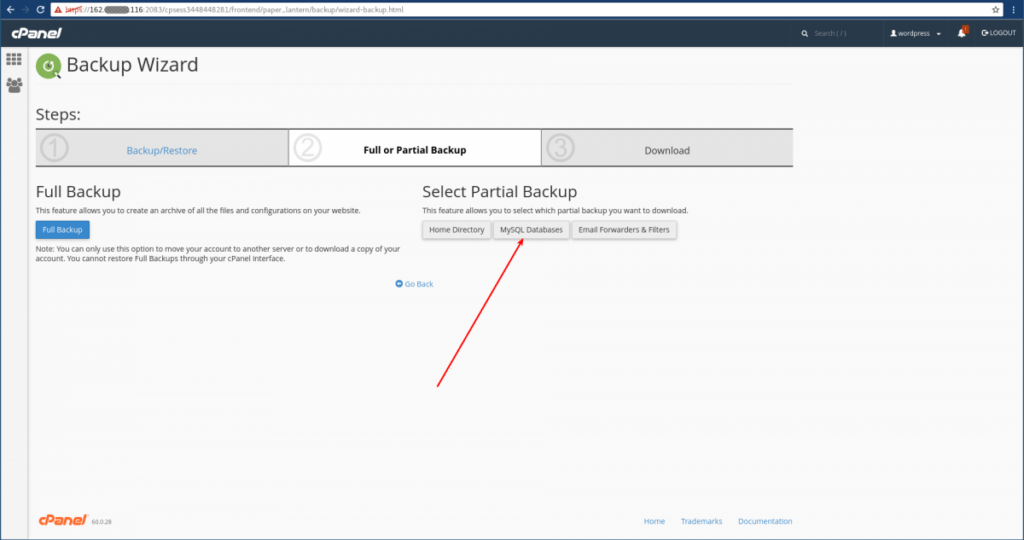
- Since the update process is very likely to affect the database, we will also want to back up the MySQL Databases.
- Now you can choose the database to download a backup of. Depending on the size of the chosen database and your connection speed, this download may take some time.
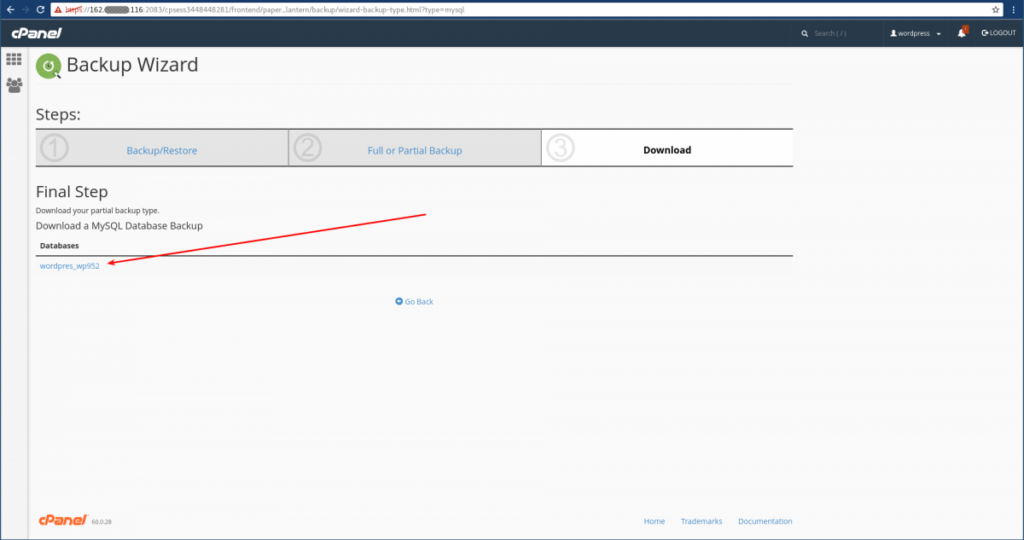
- If desired, you can download backups of other databases, or “Go Back” to download the email forwarders and filters, but it is probably not strictly necessary at this time.
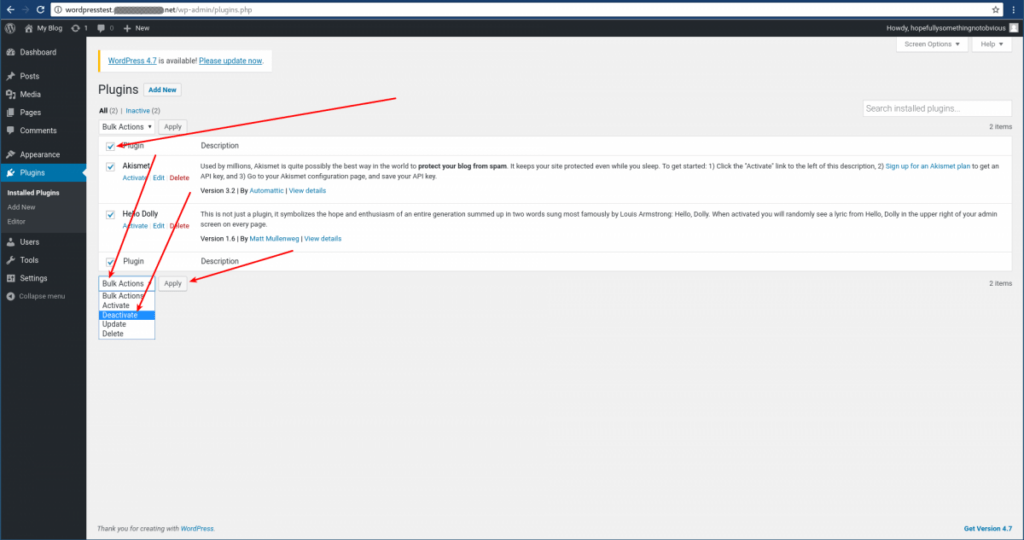
- It is also important to deactivate all plugins before proceeding with a manual upgrade. deactivate them manually.))
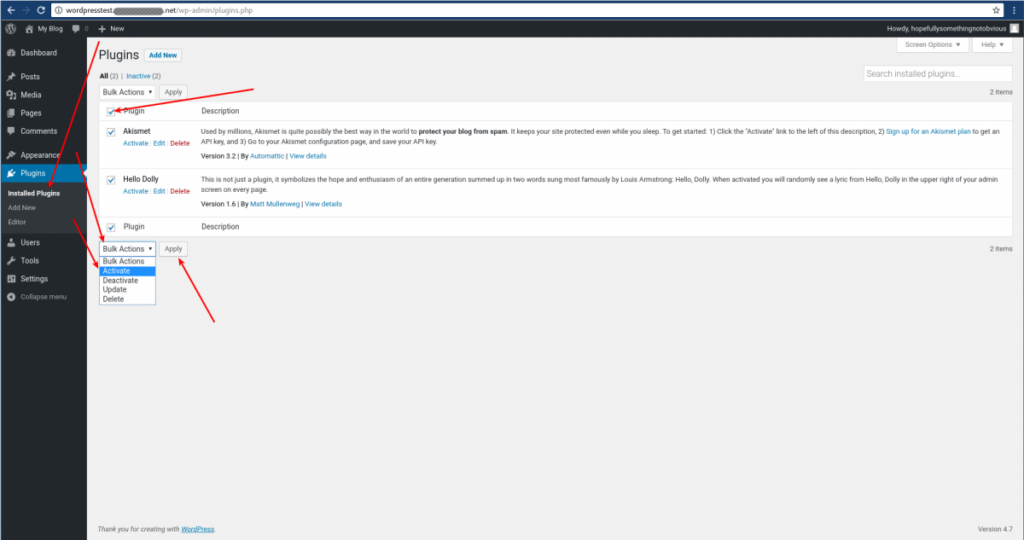
- From the WordPress dashboard, go to Plugins → Installed Plugins.

- Select all the plugins, then in the Bulk Actions dropdown, choose “Deactivate” and click the Apply button.
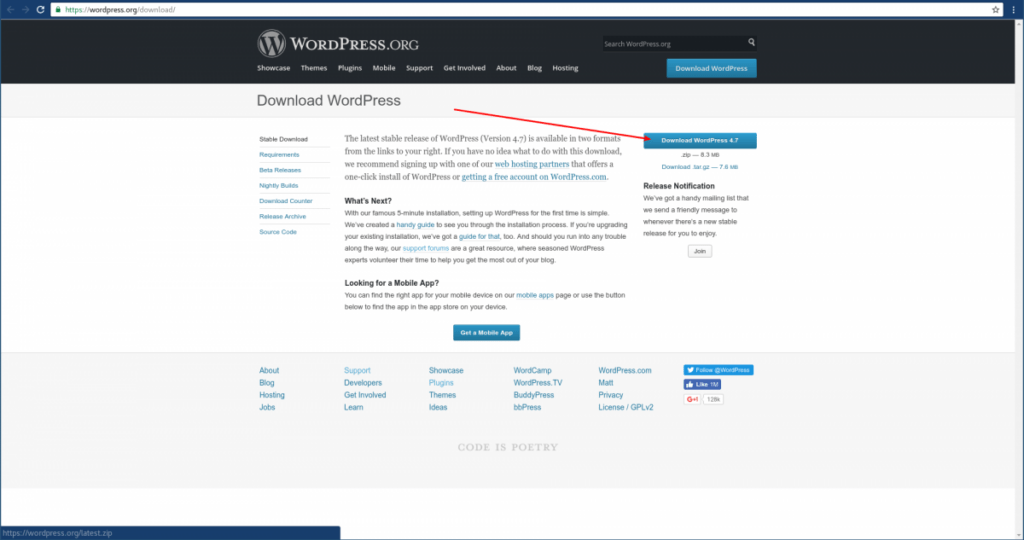
- If you haven’t already, download the new WordPress archive from this page.
- If you are not familiar with how to use
.tar.gzfiles or are unable to use them on your local system, it is recommended to download the.zipfile instead. How long the file takes to download will depend on your connection speed.
- If you are not familiar with how to use
- Decompress the downloaded archive by a method appropriate to your operating system. The decompressed files and folders should be inside of a new folder called
wordpress. - It is recommended to use FTP (or WebDAV) to upload the new files, to help ensure they have the correct ownership.
- For our example, instead of using the cPanel account itself, we will be using an ftp account created within the cPanel account which has been restricted to
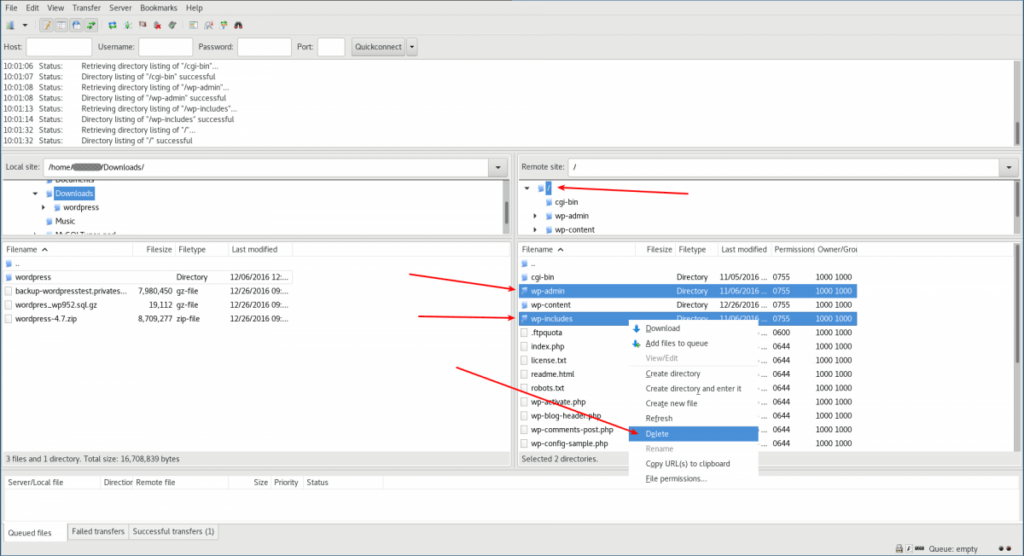
public_html, which is the main folder of the example site. - Delete at this time only folders
wp-includesandwp-admin.
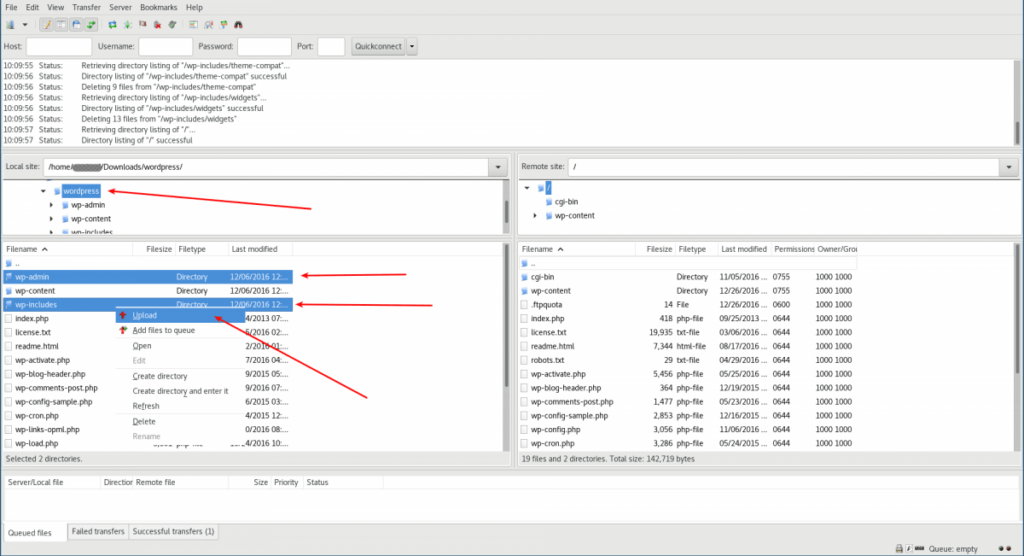
- Upload the new versions of the folders
wp-adminandwp-includesfrom the zip archive.
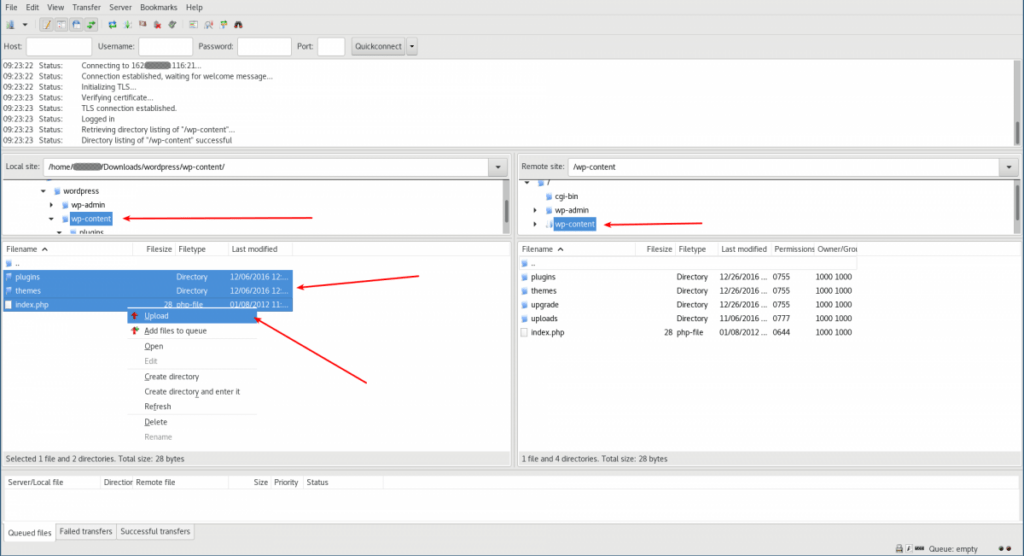
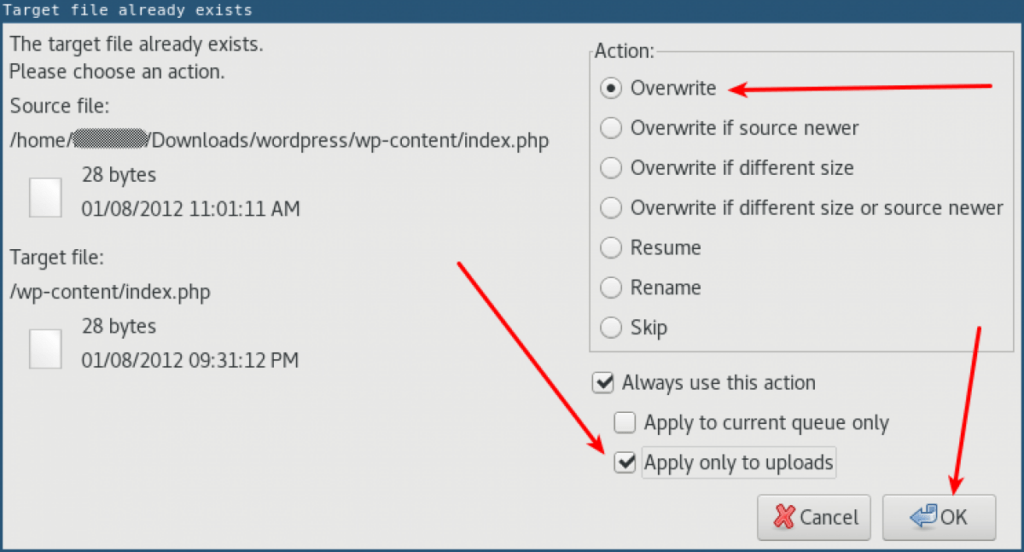
- Upload the individual files from the
wp-contentfolder, overwriting any files existing in both places. Do not delete any files that are not being uploaded.
- Upload the individual files from the wordpress root, overwriting any files which are in both places.

- Look at the new
wp-config-sample.phpfile, to see if there are any new settings you would like to add to yourwp-config.phpfile. - Visit the WordPress dashboard.
- If a database update is needed, you will be redirected to a page informing you of this.
- Remember to reactivate any needed plugins.
- If you have any caching plugins enabled in the site, make sure to clear all of their caches.