How to issue an SSL Certificate
Last Updated: December 1, 2021
This article covers how to issue an SSL Certificate within your Managed Hosting for WordPress through the Plesk interface.
We’ll be going over the steps required to make this process simple and easy.
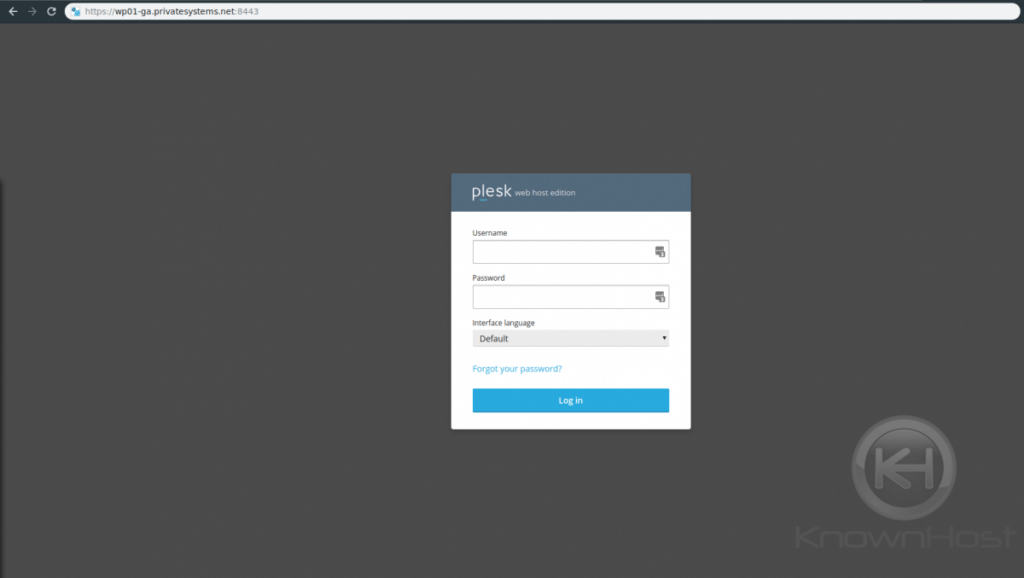
Step 1: Log in to your Plesk interface.
You can log in to Plesk through two methods.
- Through your my.knownhost.com dashboard following this method: one-click login
- Through the direct URL received in your ‘Welcome Email’
If you choose the latter; you should see the following page.
Step 2: Access “SSL/TLS Certificates”
To get to this area you’ll want to click “SSL/TLS Certificates” within the main body of features.
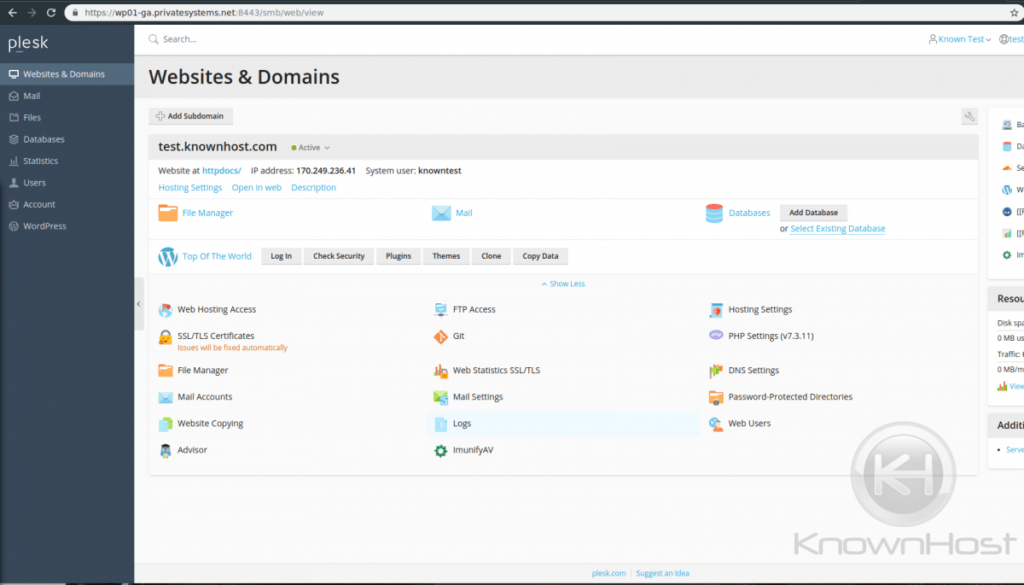
Once there, you’ll be taken to the following page:
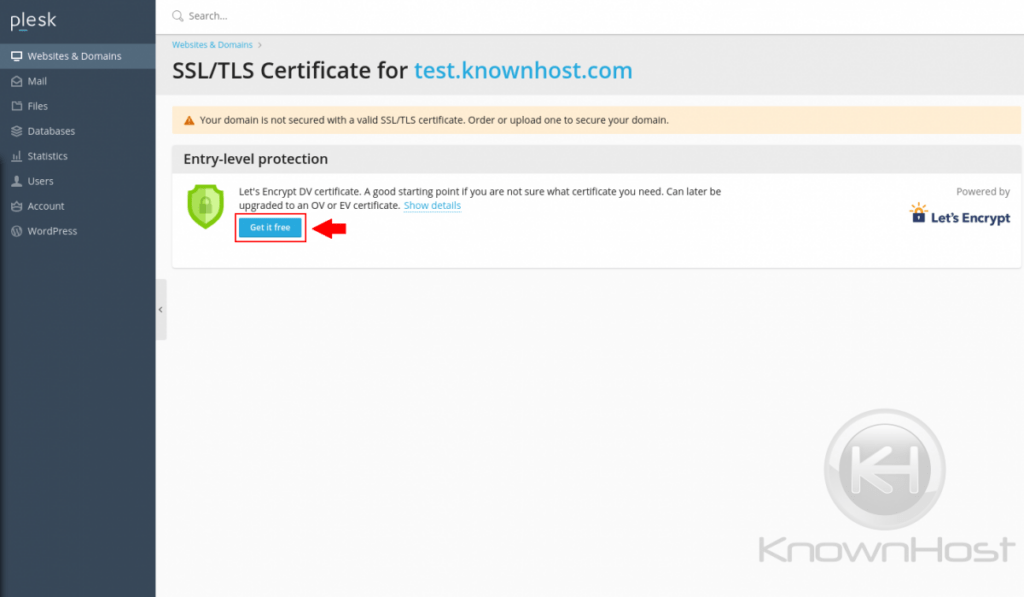
You’ll see a warning that says currently “Your domain is not secured with a valid SSL/TLS certificate. Order or upload one to secure your domain”.
Fortunately, we offer Let’s Encrypt ‘entry-level protection’ certificates.
Click the “Get it free” button to get started.
Step 3: Issue the certificate
You’ll see a pop-up window like so; you’ll enter the email you want to be notified under and to choose how you want the SSL issued with options.
It’s best to just usually allow it to secure the default, but you may want ‘www’ and ‘webmail’ as well.
Click “Get it free” when done

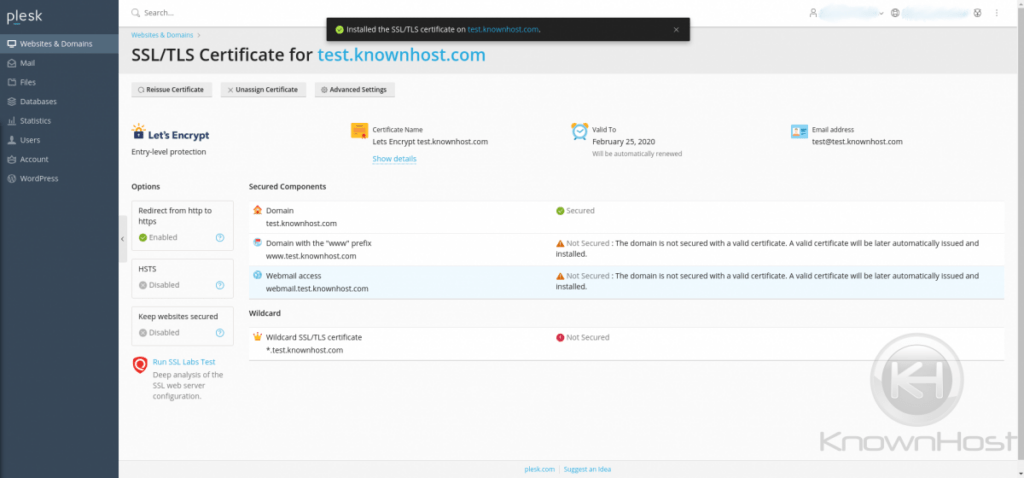
Afterward; your certificate will show secured on the following page.
Please reach out to us if you require assistance with this.