How to Change Your DNS at Network Solutions
In this blog post we’re going to explore how to update your domain name servers if your domain is registered at Network Solutions. You’ll have to go through this process when you purchase a new hosting service and wish to change where your domain name points to for DNS resolution. We hope you find this guide useful and informative!
To change your domain nameservers to point to your KnownHost VPS, follow the instructions below.
1. Go to networksolutions.com , click MANAGE ACCOUNT from the top right corner
2. Click MY PRODUCTS & SERVICES

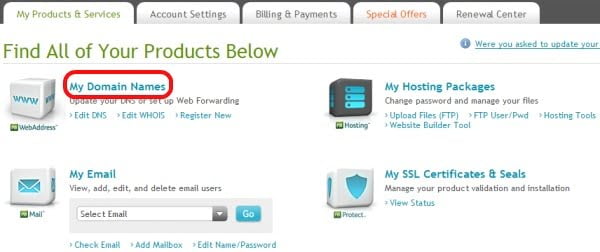
3. Click MY DOMAIN NAMES
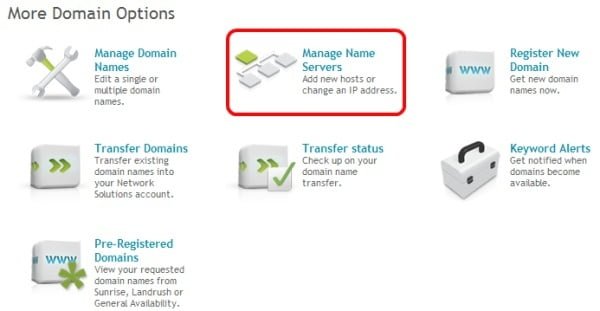
4. Click MANAGE NAME SERVERS
5. Enter the name of your first name server (NS1.<yourdomain.com>) and click GO
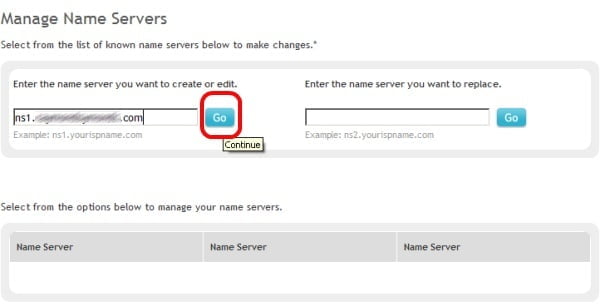
Note: You can find this information in the email we have send you with your registration.
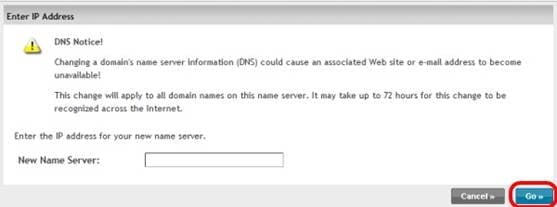
6. Enter the IP for the first name server and click GO
7. Repeat the same process to add the second nameserver (NS2) and click SAVE CHANGES
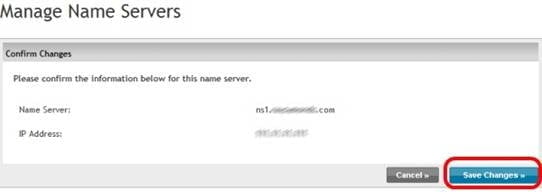
8. You will see the confirmation screen
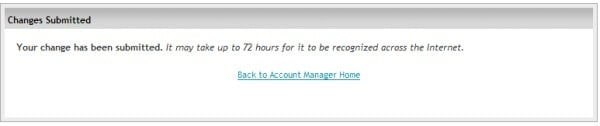
That’s it! You have successfully managed to point your domain to your knownhost VPS.
You can check the status of the DNS propagation using this link. It will take approximately 72 hours for the domain name server information to propagate to servers world-wide.
Back to: Setup WordPress with Knownhost